

Cost
Laundry Room Addition & Remodel Costs (2026 Guide)
07.06.2026
12.26.2025

In This Article
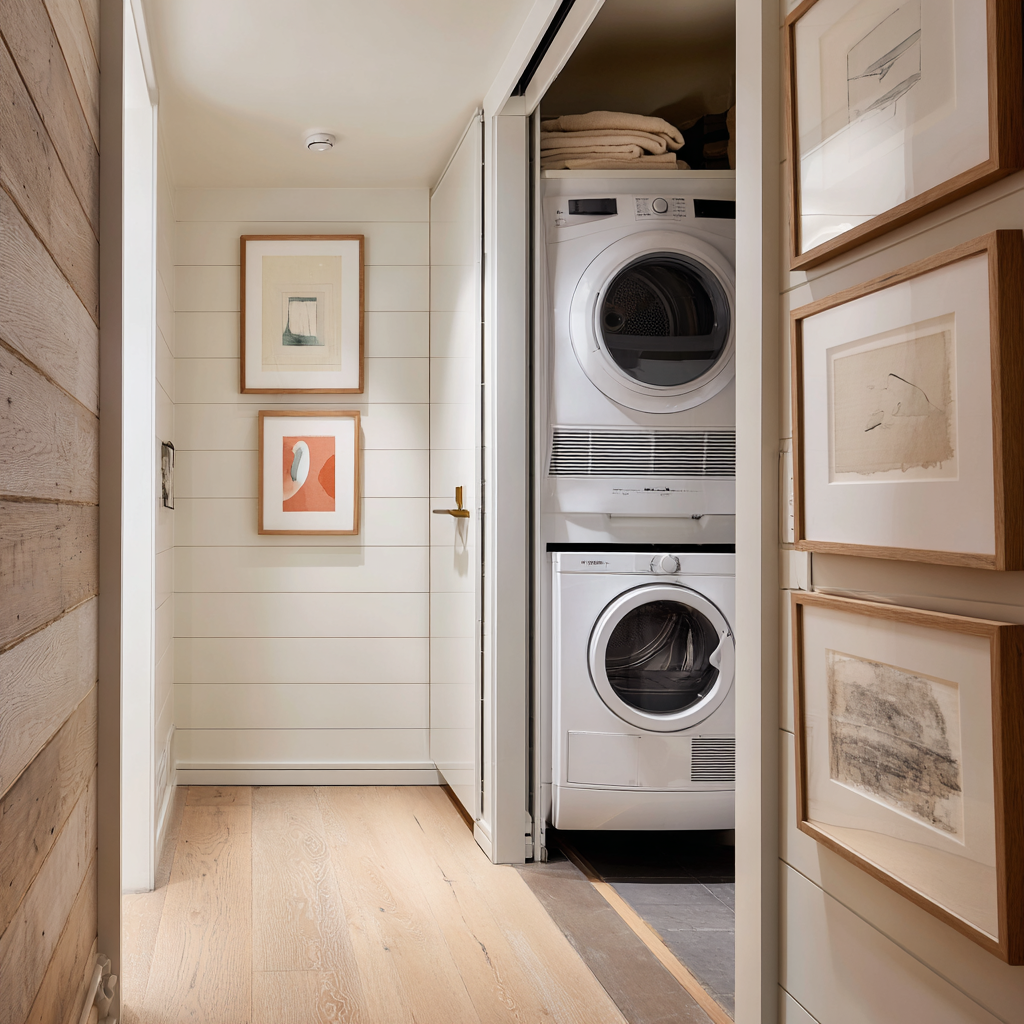
Turning a closet into a laundry room is an upgrade that can make daily life easier and homes more efficient—if it's done right. For many homeowners, especially in city apartments and older homes, laundry space isn’t a given.
The good news: with thoughtful planning and guidance from a reliable contractor, even a modest closet can become a truly functional laundry area. Here’s how to tackle your closet-to-laundry renovation, from key first questions through the finishing details that make the space work year after year.
The cost to convert a closet into a laundry room can vary widely depending on your location, the complexity of the project, and the quality of the finishes and appliances you choose. Most homeowners can expect to spend between $2,000 and $7,500 for a basic to moderately finished laundry closet, especially when the closet is already close to existing plumbing and electrical lines. If your project requires extensive new plumbing, electrical upgrades, structural work, or custom cabinetry, costs can quickly rise; $8,000 to $15,000 or more is common for a professionally finished setup with upgraded appliances and storage.
On the high end, luxury conversions with built-ins, stone counters, premium lighting, and ventless or smart washer-dryer setups can push the budget above $17,000.
Before picturing new appliances, spend some time honestly evaluating if your closet is up to the task. A little upfront planning now helps prevent headaches—or unwelcome surprises—down the line.
Check the dimensions: Standard washers and dryers require at least 24–30 inches in depth and 27–30 inches in width apiece, with some added space for connections and clearance. Don’t just measure the closet itself; factor in the swing of any doors and room to maneuver. Stackable or all-in-one machines are a smart choice for tighter quarters.
Evaluate floor strength: A full washer can weigh over 200 pounds, even before the water is added. Confirm that the closet floor is properly supported—your contractor can help assess subfloors and framing, especially if you’re working in an upper-story installation.
Think through utility connections: Plumbing, ventilation, and electrical access are all non-negotiable. Your closet needs a nearby water supply and drain, a properly grounded electrical outlet (often 220V for electric dryers), and safe venting for a dryer (or a ventless model if exterior access is tough). If the closet backs up to a bathroom or kitchen, running new lines is typically simpler and more budget-friendly.
When in doubt, consult with a skilled contractor who can not only evaluate the potential of your closet space but also provide a detailed scope.
Compare Proposals with Ease

Getting water in (and out) is central to making your new laundry closet run reliably. Coordination with a licensed plumber and/or electrician will be crucial for a safe and up-to-code installation.
Install hot and cold water lines: Your machines will need a reliable water supply; tap into existing lines when possible to avoid major demo. PEX piping or copper lines both work well for a laundry install.
Provide robust drainage: Washing machines discharge a lot of water quickly. A standpipe drain or branch to a nearby waste line ensures proper flow and prevents backups.
Include a floor drain or pan: Especially in upstairs or enclosed installations, a drain pan under the washer provides an important safety net in case of leaks or overflows.
Plan for dryer venting: Most traditional dryers require an external vent. Where this isn’t feasible, consider a ventless (condensing) dryer or a heat pump dryer that doesn’t need outside ventilation. If venting through walls or ceilings, use rigid metal ducting and keep the run as short and straight as possible for safety and efficiency.
Electrical safety: Outlets must be properly grounded, and GFCI protection is required for laundry areas. For electric dryers, confirm that your panel can handle the added load and voltage.
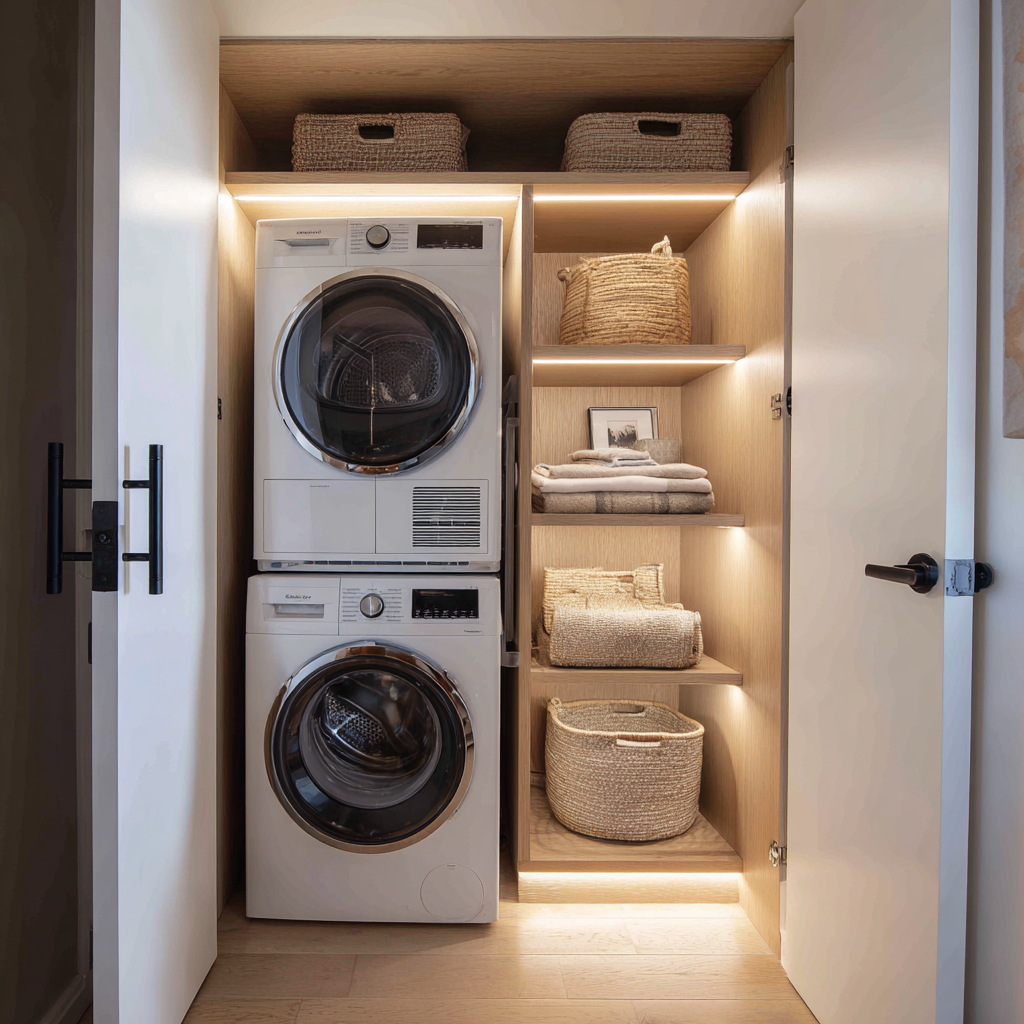
Form follows function in a laundry closet—good planning helps your space feel orderly rather than cramped. Make choices that maximize usability while keeping the area intuitive to work in.
Opt for stackable, compact, or all-in-one appliances: Many brands offer ventless combos specifically designed for retrofit installations. Vertical stacking often frees up room for storage above or beside the units.
Choose pocket or bi-fold doors: If space allows, swap out a swinging door for pocket doors or similar designs, making laundry access easier and saving precious floor area.
Maximize storage: Add shelving, narrow cabinets, or cubbies above or next to appliances for detergents, baskets, and cleaning supplies. Shallow pull-out drawers or vertical organizers work well for small items.
Build in work surfaces: If your layout allows, include a fold-down shelf or countertop for folding. Even a slim ledge mounted above front-loaders can be a game changer.
Light it well: Overhead or under-shelf LED lighting ensures you can spot stray socks and read care labels with ease, no matter how compact the space is.
Turning a closet into a laundry room can add real convenience, but a few overlooked details can cause major hiccups or even lead to costly repairs. Being aware of these common pitfalls upfront can save you time, money, and frustration down the road.
Ignoring noise control: A laundry closet close to bedrooms or living spaces will carry more noise than one tucked away in a basement; consider soundproofing measures such as insulation, solid-core doors, or rubber mounting pads for appliances.
Placing the laundry closet too far from plumbing: Locating your laundry area far from existing water and drain lines can dramatically increase the cost, complexity, and risk of leaks. Ideally, choose a closet adjacent to a kitchen, bathroom, or utility area to streamline installation and reduce future maintenance issues.
Undersizing the space: Squeezing standard-size machines into too small of a closet leaves little room for connections, airflow, and basic use—or can make maintenance nearly impossible. Always double-check clearances, including door swings and wall space.
Neglecting building codes or HOA rules: Overlooking permits, inspection requirements, or building rules often leads to delays, additional costs, or having to redo work. Always check local codes and, if applicable, get approval from your HOA before starting the project.
A closet-to-laundry conversion rewards thoughtful planning, technical know-how, and care at every step. Working with a professional from Block Renovation means you have an expert to help navigate design, choose reliable products, and manage every trade needed for a safe, successful install.
Our team’s track record with high-impact space conversions means you get a laundry area that feels purpose-built—not just tucked away. With Block, you can be confident your new laundry closet won’t just look good—it’ll work well and add meaningful value to daily life.
Remodel with confidence through Block

Connect to vetted local contractors
We only work with top-tier, thoroughly vetted contractors

Get expert guidance
Our project planners offer expert advice, scope review, and ongoing support as needed

Enjoy peace of mind throughout your renovation
Secure payment system puts you in control and protects your remodel


Renovate confidently with Block
Easily compare quotes from top quality contractors, and get peace of mind with warranty & price protections.
Cost
Laundry Room Addition & Remodel Costs (2026 Guide)
07.06.2026

Laundry Room
Laundry in a Bathroom: Smart Design Decisions
06.25.2026

Design
Walk-In Closet Design Ideas & Remodeling FAQs
05.06.2026

Laundry Room
Laundry Room Sizing Guide - Minimums, Averages & More
04.23.2026

Laundry Room
Building a Laundry Chute: Ideas, Dimensions, and Costs
04.09.2026