Walk into any busy restaurant at 7:00 p.m.—tickets spike, the pace picks up, and every second counts. But what keeps a kitchen on pace isn’t just the chef or the menu. It’s the invisible logic of the floor plan: the way people and food move, the access to equipment, and the steps staff don’t have to take. A thoughtful kitchen layout enhances efficiency, keeps teams safe, and supports growth—whether you’re setting up a quick-service space, rethinking a fine-dining back-of-house, or optimizing for delivery.
Organize the kitchen around workflow—not just equipment
Restaurant kitchens succeed by anticipating flow issues before the first line cook clocks in. Instead of thinking in terms of where the stove or fridge “fits,” map out how each task connects to the next—and give staff what they need, right when they need it.
- Receiving and storage: Place your delivery entry near dry and cold storage, with clear access paths. This ensures new stock is shelved quickly, without crossing prep or cooking zones, and limits contamination risks from outside boxes.
- Prep area: Prep tables should be within one or two steps of ingredient storage, sinks, and waste bins. Consider undercounter refrigeration for proteins and veg, so your kitchen team isn’t constantly stepping away to the walk-in between tasks.
- Cooking line: Arrange cooking equipment in the order dishes are prepared—often moving from grill or sauté to oven, then to plating. Grouping for workflow (rather than by appliance type) means pans, ladles, and tongs aren’t crisscrossing the space during dinner rush.
- Plating and pass: The pass should be a direct extension of your cooking line, not an afterthought. Staff need room to plate and garnish, organized plateware, and heat lamps or shelving close by—this is where seconds matter most to quality and team morale.
- Server access: Position the service window or pickup zone so servers don’t block kitchen movement. Good layouts include a separate server aisle, keeping the food line clear and minimizing slowdowns.
- Dish drop and cleaning: Dirty plates shouldn’t move through prep areas. Design the dish drop near the exit for used plates, with a clear, one-way path to the dish station—ideally with a dedicated entrance to the dish area so staff traffic stays orderly.
Each step in the workflow should take as few turns and as little backtracking as possible. Every “shortcut” you design here shows up as saved labor and smoother shifts.

Understand the most popular layout styles
No single layout fits every kitchen, but knowing the strengths and challenges of each option can shape better decisions for your space, staff, and menu. Here’s how the most common formats really work in practice:
Assembly line layout
Workstations are lined up so food moves from prep to cooking to plating in a straight path. This layout suits kitchens with high-volume, repetitive menus—like pizzerias, fast-casual, or burger shops—where staff can focus on a single task without crossing paths. It improves speed and consistency, but flexibility is limited if your menu requires many steps or custom orders.
Zone (or station) layout
Different kitchen tasks—grill, fry, salad, pastry—each get their own “zone,” with all the ingredients and equipment needed for that work close at hand. This is the go-to layout for full-service or fine-dining kitchens with diverse menus, as it allows multiple cooks to work in parallel without crowding each other. Communication is key, as handoff between zones can be a bottleneck if not planned out.
Island layout
The main cooking equipment forms an “island” in the center, with prep, plating, and cleaning zones wrapped around it. This allows for 360-degree access during busy service and supports quick checks and support from the chef or expediter. Usually suited to larger footprints, this layout encourages collaboration, but without wide aisles and clear visual lines, it can get congested.
Galley layout
Equipment and counters are set along opposing walls or a narrow corridor, making the best use of tight spaces. Small cafes, food trucks, and ghost kitchens often choose this format as it reduces wasted movement and maximizes efficiency. However, space quickly gets crowded if more than two or three cooks are working at once.
Open kitchen layout
The kitchen is exposed to diners, reinforcing transparency and connecting guests with the cooking experience. Open layouts require careful planning—front-of-house aesthetics, noise control, and extra attention to cleanliness all become essential. A well-run open kitchen can be a major draw, but it gives diners a real-time view of both the highlights and any missteps.
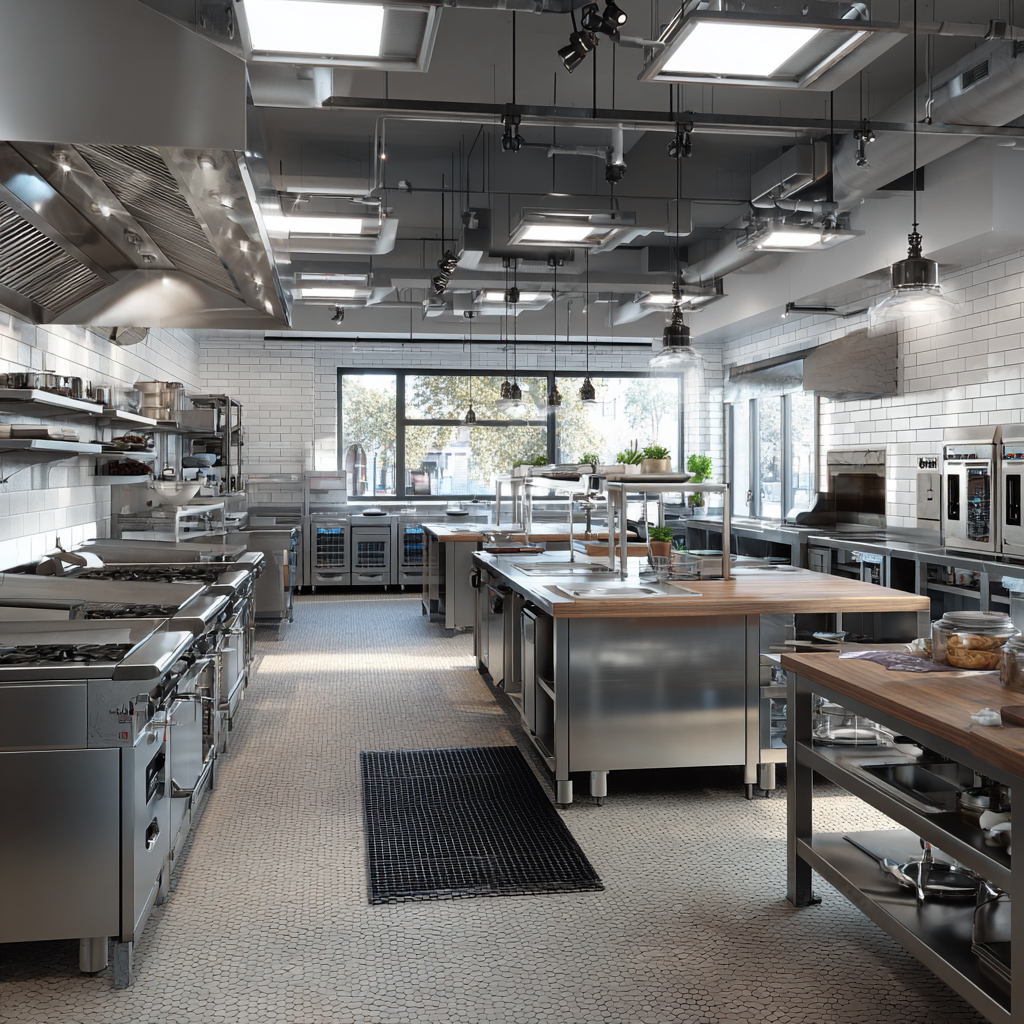
Make every square foot work hard: space, aisles, and storage
Right-sizing your kitchen isn’t just about shoehorning in equipment. Too little space forces staff to improvise—stowing food in hallways, tripping over one another during rush. Too much space adds steps and slows down service.
- Kitchen sizing guidelines: For full-service restaurants, aim for roughly 5 square feet of kitchen per dining seat. Fast-casual or counter-service can run slightly leaner. This means a 100-seat bistro will typically need about 500 sq ft back-of-house, but patterns vary—many successful operators lean on 25–30% of their total floor area dedicated to kitchen and storage.
- Aisle width: Main aisles handling two-way traffic should be at least 42 inches wide. Busy production lines, expo, or areas serving as both cookline and pass often benefit from 48 inches. ADA compliance requires at least 36 inches for all clear pathways—plan for shelving, doors, and drawer openings that won’t reduce this clearance.
- Vertical storage: Space is expensive—think vertically. Install wall shelves above prep and cooking lines, hanging pot racks, and stackable containers wherever possible. Position dry, refrigerated, and freezer storage so cooks never have to cross the main flow of the kitchen to retrieve staples during a shift.
- Set up each workstation for success: Encourage cooks to keep core ingredients, utensils, and small tools within reach using low shelving, magnetic strips, and undercounter fridges or drawers. Every trip to a remote storeroom adds hidden labor costs and breaks focus.
We consulted with Rogue Schott, a PMP-certified Lead Project Planner at Block Renovation, about the telltale signs that a kitchen's layout is holding the business back. He noted "A clear sign is when too much space is dedicated to dining that isn’t consistently generating revenue. With the shift toward QSR models, successful layouts prioritize production over seating—maximizing output in a smaller footprint."
Prioritize movement: how less walking means more service
Productivity studies consistently show that every unnecessary step between prep, cook, and pass cuts into output. Small design tweaks can add up to major savings on labor and morale.
- Fridges and freezers: Place undercounter refrigeration or reach-ins at key cook and prep stations so staff aren’t constantly heading for the walk-in. Busy kitchens often use “satellite” coolers for high-turnover items (proteins, garnishes) positioned right at the line.
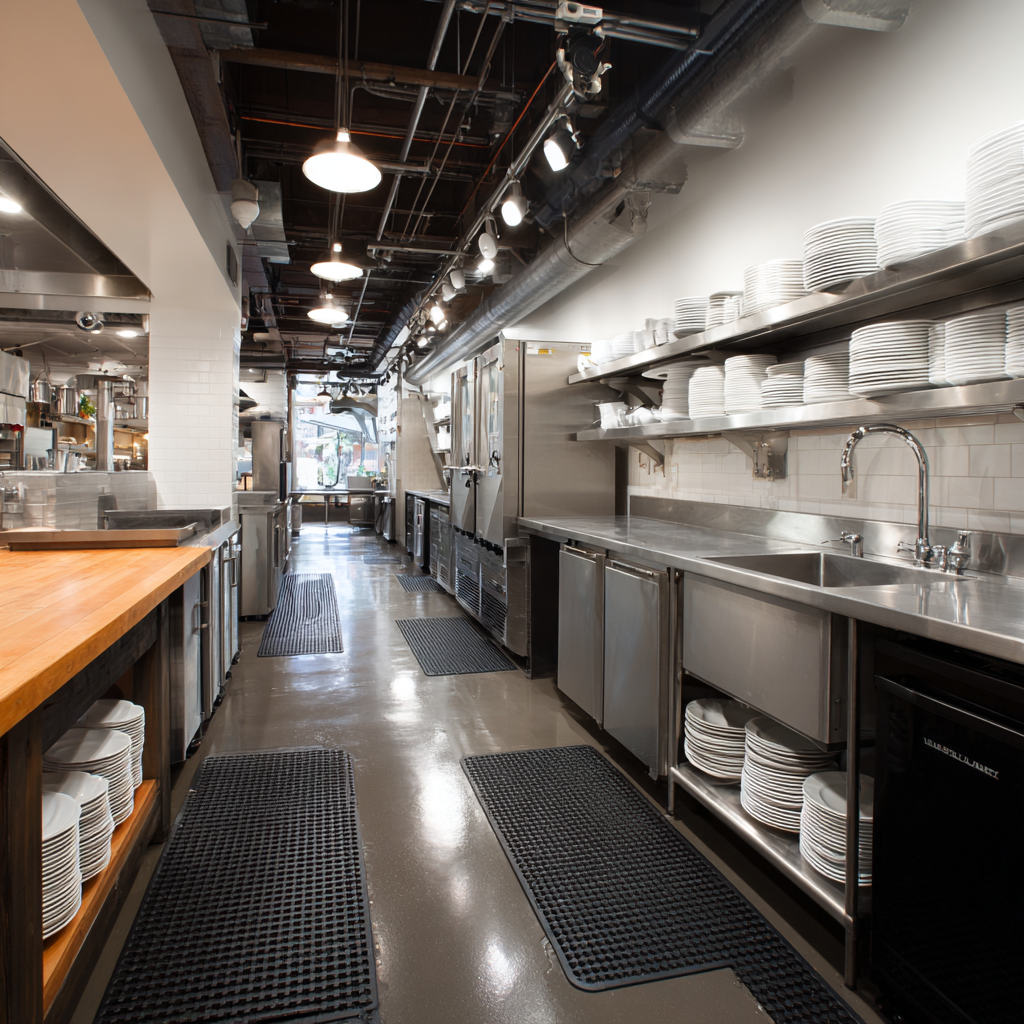
- Sinks: Hand sinks should be visible and easily accessible from every prep and cooking area—this isn’t just code, it saves steps and reinforces kitchen hygiene. Dish sinks or dish machines should have an efficient “dirty in, clean out” flow, minimizing traffic tangles.
- Waste management: Put trash, compost, and recycling bins within arm’s reach of prep, cook, and dish areas—and under every main worktable. This reduces stray waste and keeps stations clear, especially on volume nights.
- The pass: Your finish and pass area—the spot where dishes are plated and checked before heading out—should be the endpoint for every station, not tacked on as an afterthought. Heat lamps, plate ware, and easy access for servers are worth strategically oversizing.
Ventilation, sanitation, and safety: the backbone of a healthy kitchen
A beautifully designed kitchen is wasted if it’s uncomfortable, dangerous, or fails inspections. The essentials aren’t negotiable:
- Ventilation: Place cooklines directly under a Type I hood sized to cover all hot equipment, with direct vertical runs to minimize grease and fire risk. Consult mechanical plans early—relocating hoods is among the priciest mid-project changes. Install makeup air systems to replace what’s vented out, as required by local codes.
- Lighting: Use a combination of bright ambient lighting and directed task lights at prep stations, particularly over cutting boards and ranges to reduce errors and fatigue.
- Non-slip flooring: Floors in food production areas must be slip-resistant, easy to sanitize, and sloped to floor drains. Quarry tile with cove base or commercial vinyl are widely used, with anti-fatigue mats in standing areas for extended shifts.
- Safety and accessibility: Pathways should be clear of cords, boxes, and spill-prone equipment. Back doors required for egress should never double as storage zones. Check ADA compliance for doors, equipment heights, and access to the dish pit.
Rethink dishwashing and storage for efficiency
The dish area is often overlooked, but inefficiencies here can grind service to a halt.
- Dish drop: Place close to the dining room door to collect used plates with minimal disruption. Large venues benefit from a pass-through window or dish belt system.
- Dirty-to-clean flow: Create a clear, one-way path from dirty plate drop, to scrapping, to wash, to drying and storage. Never force clean plates to cross prep or cook areas.
- Storage: Store backup plates, glassware, and utensils near the pass or serving stations, avoiding restocking “runs” mid-shift.
Plan for sustainability, tech, and growth
Efficient kitchens are now expected to support sustainability and adapt to new business models.
- Energy savings: Choose ENERGY STAR kitchen equipment and LED lighting, which lowers overhead and meets growing expectations from guests and regulators.
- Flexible equipment: Consider ventless fryers, programmable ovens, or combi ovens—these minimize footprint and support menu changes as business evolves.
- Tech-forward tools: Inventory management systems, connected monitors, and digital order screens can keep teams on pace and reduce errors, especially with growing to-go and delivery orders.
- Growth plan: Design with tomorrow in mind. Reserve wall space, utility hookups, or modular workstations for future additions, and check in with your chef and team regularly as the menu or pace of the business evolves.
Collaborate with Block Renovation for a kitchen that works
Bringing your dream kitchen to life takes more than square footage and a list of appliances—it’s about translating your unique workflow, menu, and growth targets into a space that delivers shift after shift. From initial planning to the last inspection, Block Renovation brings the experience of licensed general contractors, detailed project planners, and a dedicated support team focused on helping you achieve smoother operations and sustainable long-term value.

Written by
Rogue Schott
Rogue Schott
Rogue is a PMP-certified Lead Project Planner at Block Renovation, specializing in nationwide preconstruction strategy for both commercial and residential projects. He brings structure, clarity, and strategic rigor to complex renovations and new builds from early planning through execution.


