12.19.2018
In This Article
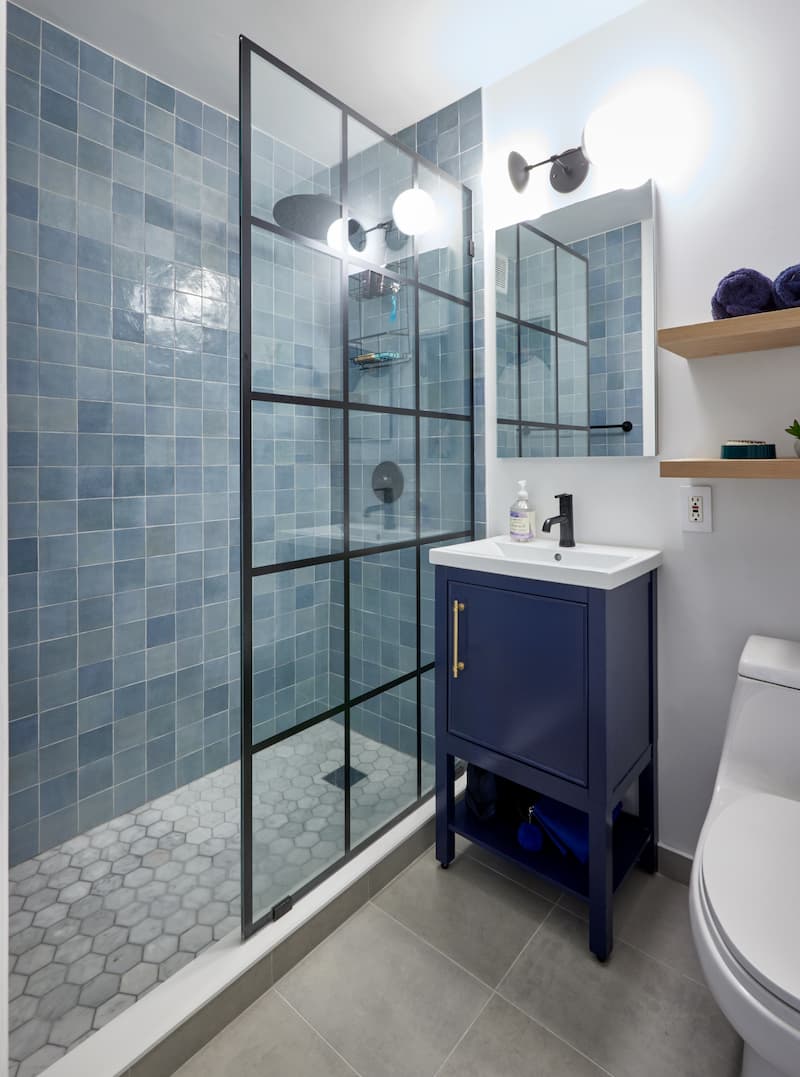
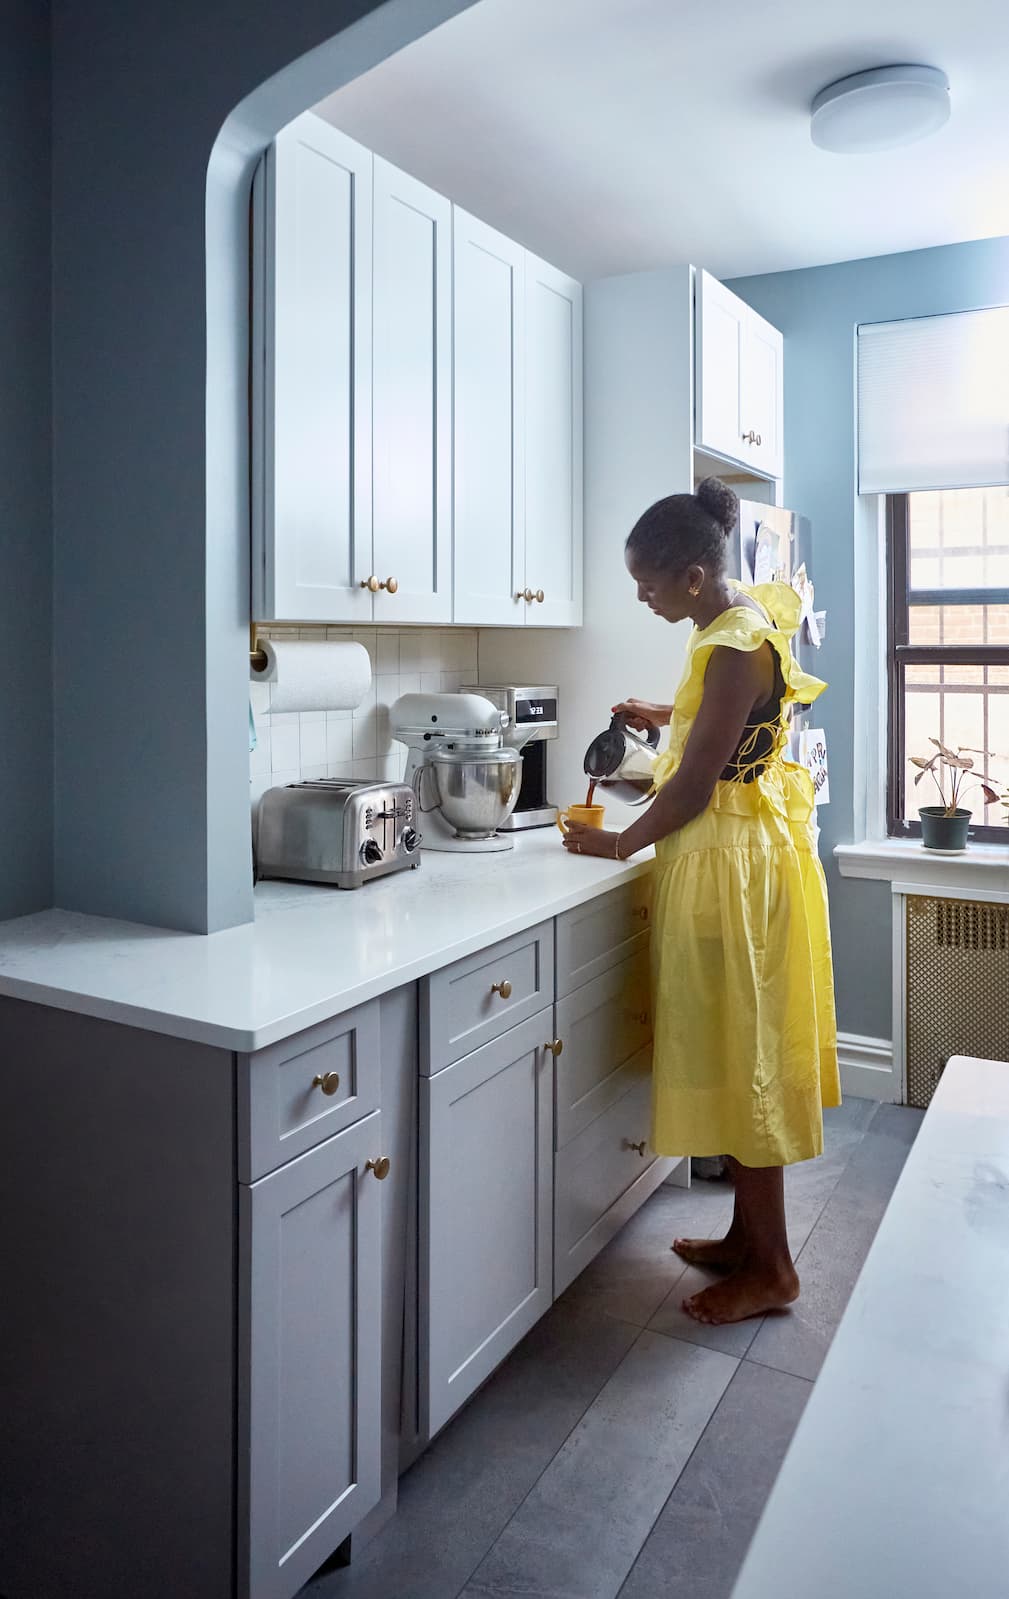
One of the most popular items in a home people upgrade is flooring. Today’s homes are full of tile and wooden floors and carpeting are used mostly in bedrooms. Replacing tile in the bathroom, both on the floor and the shower/tub area is a recommended step to update a bath.
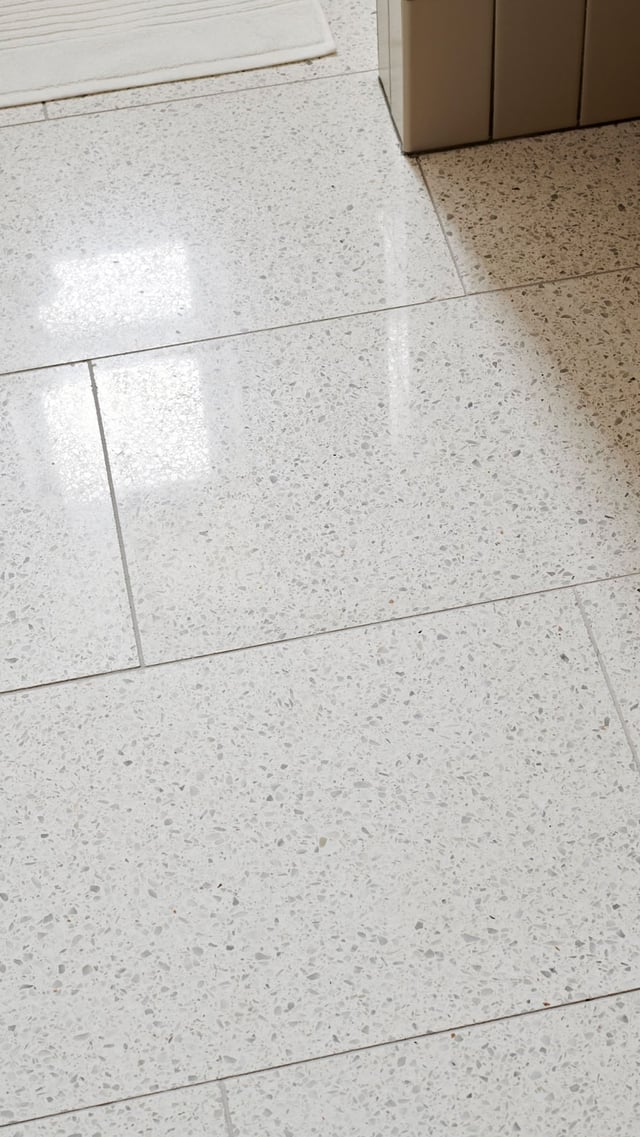
But with new tile comes grout. And with grout often comes a mess aftermath, leaving what is often referred to as “white haze,” behind.
Where Does White Haze Come From?
According to The Spruce, white haze (or grout haze) is “a byproduct of installing tile and is grout that has filmed over the surface of the tile upon installation and the drying process.” Because tile grout is made of cement and minerals mixed with water, once that water dries, minerals remain on the surface of your newly installed tile.
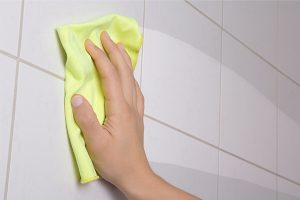
You can’t just wipe off white haze with water and it can’t be tackled until the grout is dry. So how do you clean your tiles after a renovation?
Prepare for the Cleaning
Here are simple steps for cleaning your tiles after installation. Keep in mind that grout haze may not appear for up to ten days after an installation.
- Make sure grout is fully hardened. Read the directions on the grout package to determine how long the grout will dry as some manufacturers recommend different drying times.
- Do not wait longer than ten days to attempt to remove the haze.
- Turn to the grout package again to find out if the grout you applied is epoxy-based. If it is, the white haze will be harder to remove and you may have to also buy grout cleaner. This cleaner can be purchased a hardware store. Make sure you’re buying a grout haze remover. You don’t want grout sealer or grout cleaner—these are different products.
- Find out what material your tile is made from. According to Bob Vila, “ceramic and porcelain tiles can be exposed to acidic cleaners like vinegar, but porous stone and slate tiles should not.” The type of tile will make a difference in what kind of grout cleaner you purchase. Again, check with the manufacturer first so you don’t buy the wrong type.
- Buy a grout sponge. This has a metal handle with sponge attached.
- Buy a grout float. These are rubber so ask at the hardware store if you need help finding one.
- Buy a large and sturdy sponge.
Steps to Remove White Haze
Follow these steps to clean, shiny tile:
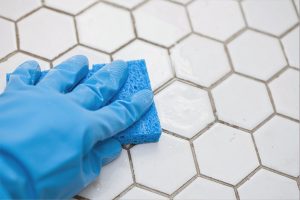
- First, try removing the grout haze with your grout sponge and water.
- If that doesn’t work, while still wet, get your grout float and slide over the area. This can help push the grout haze into the spaces between the tiles. Repeat this step until the haze is removed.
- Buff the area with cheesecloth until fully dry and inspect for any extra white haze. If you see some, you can repeat the process, but you may need to use grout haze cleaner. Most manufacturers will recommend three ounces of grout haze cleaner per one gallon of lukewarm water. You may need to change the product if it becomes too murky.
- Read the directions on your grout haze cleaner for mixing. Using the large sponge, clean the tile much like you would mop a floor. Continue cleaning with the professional grout haze cleaner and dry until the tile is void of any white haze.
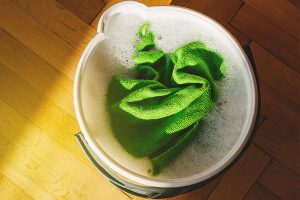
An Organic Method
If you want to try and use something “green” to clean your grout haze after you’ve remodeled your bathroom, there is a simple, organic method to try.
- Mix a solution of ½ Cup ammonia, ½ Cup white vinegar, one Cup baking soda and two quarts of water.
- Using a large sponge wipe much like you would with a grout haze cleaner to remove the haze.

Renovate confidently with Block
Easily compare quotes from top quality contractors, and get peace of mind with warranty & price protections.