11.26.2024
In This Article
Picking the perfect kitchen cabinets is like setting the stage for your entire kitchen remodel. Imagine the way cabinets can transform not just the look, but also the way you use your space every day. From adding style to boosting functionality, they’re a big part of the magic in your kitchen. Curious to know how different types of cabinets can change everything? Let's dive in and explore your options together!
Basic Types of Kitchen Cabinets
Before diving into a kitchen remodel, it's essential to know the basic types of kitchen cabinets available out there. Each type, whether stock, semi-custom, or custom, has its unique features and benefits that can greatly affect your kitchen’s appearance and functionality.
By understanding what sets them apart, you can make an informed decision that aligns with your needs and budget. Ready to learn more about these options? Let's explore each type and discover which one is right for you.
Stock Cabinets
Stock cabinets are pre-manufactured cabinets that are available in standard sizes and styles at many home improvement stores. They're often a popular choice for homeowners looking for a quick and budget-friendly option during a kitchen remodel. With stock cabinets, what you see is what you get—an array of basic styles and finishes is ready to install right off the shelf.
One of the main advantages of stock cabinets is their affordability. They are less expensive than custom or semi-custom options, making them a great choice for those on a tight budget. Additionally, stock cabinets are readily available, which means you won't have to wait long to get them installed in your kitchen.
Pros:
- Cost-effective
- Quick availability
- Easy to replace
- Wide selection of basic styles
- Ideal for DIY projects
Cons:
- Limited styles and finishes
- Standard sizes may not fit all spaces
- Less personalization and uniqueness
- May lack the quality of higher-end options
- Not always durable in the long term
Semi-Custom Cabinets
Semi-custom cabinets offer a middle ground between stock and fully custom cabinets, providing more flexibility while still being more affordable than full custom options. These cabinets are partially built to your specifications, allowing you to choose from various styles, sizes, and finishes. This customization ensures that your kitchen cabinets better fit your space and style, offering a more personalized touch without the higher cost of custom cabinetry.
One of the most appealing features of semi-custom cabinets is the customization options they offer. You can modify dimensions, select materials, and choose from a wider range of finishes and decorative details. This makes them a great option for homeowners who have specific design preferences or who want a unique look that aligns closely with their personal style. Plus, they offer better functionality as you can adjust the storage options to suit your needs.
When it comes to price, semi-custom cabinets sit in the middle range. On average, you might spend between $150 to $650 per linear foot, depending on the materials and finishes you choose. While this is more costly than stock cabinets, it's significantly cheaper than fully custom cabinets, which can range from $500 to over $1,200 per linear foot.
Investing in semi-custom cabinets often provides a considerable return in terms of both aesthetics and functionality. The ability to create a tailored kitchen that meets specific needs and preferences often leads to a more satisfying and enjoyable kitchen experience. This level of personalization can also add value to your home, making it an appealing choice for those thinking about resale value.
For homeowners who want a balance between customization and cost, semi-custom cabinets are a compelling choice. They offer a greater level of personalization without the time and expense associated with custom cabinets. With their flexibility and diverse range of options, they help create a kitchen that feels thoughtfully designed and truly unique.
Custom Cabinets
Custom cabinets stand out as the ultimate choice for those seeking a kitchen designed entirely to their preferences and needs. Unlike stock or semi-custom cabinets, custom cabinets are built from scratch according to your specific requirements. This uniqueness allows for complete control over every detail, from the materials and finishes to the sizes and shapes, ensuring a one-of-a-kind kitchen space.
Choosing custom cabinets is ideal when you have unique kitchen dimensions that standard sizes can't accommodate, or when you have a very specific design vision in mind. They are also perfect for those who wish to incorporate special features or non-traditional layouts that aren't typically available in pre-made options. This level of customization helps create a kitchen that truly reflects your personality and fulfills all functional needs.
However, this bespoke approach comes with significant cost implications. Custom cabinets are the most expensive option available, often starting at $500 per linear foot and going beyond $1,200 per linear foot, depending on the complexity and materials chosen. The high cost reflects the detailed craftsmanship and the tailored nature of the cabinets, making them a significant investment in your kitchen remodel.
While the cost is higher, the benefits of custom cabinets are considerable. They not only provide unmatched style and function but can also add substantial value to your home. Investing in custom cabinets may be worthwhile if you're planning to live in your home long-term and want a kitchen that perfectly suits your lifestyle and taste.
Different Styles of Kitchen Cabinets
When it comes to kitchen remodeling, cabinet style is as crucial as functionality. Different styles of cabinets can set the tone for your kitchen, whether you're aiming for a modern, traditional, or rustic feel.
From sleek and minimal to detailed and ornate, the style choices are vast, each offering a distinct personality and charm. Understanding these different styles will help you choose cabinets that complement your overall kitchen design and reflect your personal taste.
|
Cabinet Style
|
Key Characteristics
|
Appeal
|
|
Shaker Cabinets
|
Simple lines, five-piece door, versatile styles
|
Timeless and adaptable for various kitchen designs
|
|
Flat-Panel (Slab)
|
Sleek, flat surfaces, no framing
|
Modern and minimalist aesthetic
|
|
Inset Cabinets
|
Doors fit within frame, smooth surface, precise fit
|
Classic style, high-quality craftsmanship
|
|
Beadboard Cabinets
|
Vertical grooves, cottage-like texture
|
Rustic charm and cozy feel
|
|
Glass-Front
|
Glass panels for displaying items, adds openness
|
Elegant touch and visual spaciousness
|
Shaker Cabinets
Shaker cabinets are renowned for their timeless appeal and versatility, making them one of the most popular choices in kitchen cabinetry. Characterized by their simple, clean lines and a five-piece door design, Shaker cabinets have a framed design with a recessed center panel. This classic style pairs well with various kitchen designs, from traditional to contemporary, due to its minimalist yet elegant look.
In terms of popular usage, Shaker cabinets are often favored for their durability and adaptability, fitting seamlessly into different kitchen themes. Homeowners appreciate their ability to balance both function and style with ease. They can be painted or stained in a wide array of colors to match any kitchen décor.
Characteristics:
- Clean, simple lines
- Five-piece door with a recessed center panel
- Versatile for various kitchen styles
Whether you're designing a modern kitchen or something more rustic, Shaker cabinets provide a neutral yet stylish foundation that complements a range of decor choices. Their understated elegance ensures that they remain a favorite among homeowners looking for a lasting and stylish solution.
Flat-Panel (Slab) Cabinets
Flat-panel, or slab cabinets, are celebrated for their sleek, minimalist design that perfectly aligns with modern and contemporary kitchen aesthetics. These cabinets feature flat doors with no framing, offering a smooth and clean look that emphasizes simplicity and functionality. This streamlined appearance makes them an excellent choice for homeowners aiming for a clutter-free and modern vibe in their kitchen.
The modern appeal of flat-panel cabinets comes from their ability to create a sense of openness and spaciousness. Their unadorned surfaces can be finished in a variety of ways, from wood veneers to glossy paints, providing a chic and polished look that complements a modern kitchen. Additionally, slab cabinets are easy to maintain, with flat surfaces that are simple to clean and keep looking pristine.
Minimalist Features:
- Flat, unframed doors
- Sleek and smooth surface
- Perfect for modern and contemporary designs
Flat-panel cabinets provide the perfect foundation for a chic kitchen, ideal for those who value modern design's elegant simplicity. With their minimalist look and versatile finishes, they effortlessly enhance the beauty of any contemporary kitchen space.
Inset Cabinets
Inset cabinets are a testament to classic style and exceptional craftsmanship, offering a refined and elegant look that stands the test of time. Unlike overlay cabinets, the doors and drawers of inset cabinets fit snugly within the cabinet frame, resulting in a smooth, flat surface. This precise fit requires high levels of craftsmanship and attention to detail, distinguishing inset cabinets as a premium choice in kitchen design.
The appeal of inset cabinets lies not only in their aesthetic but also in their functionality and durability. Their sturdy construction often means they last longer and perform better over time. Ideal for traditional or classic kitchen designs, inset cabinets add a touch of sophistication with their seamless finish and high-quality construction. With customizable options available, they offer the opportunity to mix traditional charm with modern amenities, making them a versatile choice for any homeowner.
Beadboard Cabinets
Beadboard cabinets bring a rustic charm and textured aesthetic to kitchen spaces, making them an excellent choice for those who love a cozy, cottage-like feel. With their characteristic vertical grooves and panels, beadboard cabinets add visual interest and depth to any kitchen, creating a warm and inviting atmosphere. This style is especially popular in country or farmhouse kitchens where their textured design enhances the overall rustic appeal.
The texture of beadboard cabinets gives them a unique advantage, allowing them to blend beautifully with a variety of decor styles, from vintage to eclectic. They are often painted in soft, muted colors like white, cream, or pastel shades to maintain their rustic charm while adding a touch of elegance. Beadboard cabinets are perfect for those who appreciate a touch of nostalgia and want to infuse their kitchen with personality and warmth, while also enjoying the durability and practicality they offer.
Glass-Front Cabinets
Glass-front cabinets add an elegant touch to kitchens while enhancing visual openness and lightness in the space. By incorporating glass panels into the cabinet doors, these cabinets allow you to display beautiful dishes, glassware, or decorative items, effectively turning storage into a stylish showcase. The transparency of glass-front cabinets creates an illusion of more space, making them an excellent choice for smaller kitchens or those aiming for an airy, open feel.
Beyond aesthetics, glass-front cabinets offer practical benefits, such as making it easier to locate items and adding light-reflecting surfaces that brighten the room. They can be customized with different types of glass, like clear, frosted, or textured, to suit the desired level of visibility and style. Perfect for both modern and traditional kitchen designs, glass-front cabinets seamlessly blend elegance with functionality, making them a timeless addition to any home.
Material Options for Kitchen Cabinets
Choosing the right material for your kitchen cabinets is an essential part of the remodeling process, as it affects not only the look but also the durability and maintenance of your kitchen. Various materials offer different benefits, from the natural beauty of wood to the modern appeal of laminate.
Understanding the options available can help you select cabinets that best fit your lifestyle and design preferences. Let’s explore the common materials used in kitchen cabinets to see which might be the perfect match for your home.
|
Material
|
Key Characteristics
|
Benefits
|
Ideal For
|
|
Wood
|
Natural beauty, various grain patterns
|
Durable, versatile in style
|
Traditional or modern designs
|
|
Laminate
|
Affordable, variety of designs
|
Stain-resistant, budget-friendly
|
Modern and contemporary designs
|
|
MDF
|
Smooth, uniform surface
|
Cost-efficient, durable
|
Painted finishes for modern/traditional
|
|
Metal
|
Sleek, clean lines
|
Resistant to warping/cracking, easy to clean
|
Urban and minimalist designs
|
Wood Cabinets
Wood cabinets are a popular choice for their natural beauty and strength. Here are five common types of wood used in kitchen cabinets:
Maple
Maple is known for its smooth, fine grain, making it a versatile choice for both painted and stained finishes. It’s a durable wood that holds up well over time, providing a clean and modern look to kitchens.
Oak
Oak cabinets are characterized by their prominent grain patterns, offering a rustic and traditional feel. Known for its durability, oak is a strong choice for high-traffic kitchens where resilience is key.
Cherry
Cherry wood is prized for its rich, warm tones and smooth texture that darkens naturally over time. Its elegance and strength make it a favorite for traditional and elegant kitchen designs.
Birch
Birch offers a light-colored, smooth texture with a subtle grain that suits a variety of finishes. It’s a more budget-friendly option while still maintaining quality and appeal.
Hickory
Hickory stands out with its distinct grain pattern and color variations, adding character and a rustic touch. It’s a very hard, durable wood, perfect for kitchens needing a bold, natural look.
Laminate Cabinets
Laminate cabinets are favored for their affordability and wide range of design options, making them a practical choice for many homeowners. They consist of layers of paper or fabric impregnated with resin and bonded under high heat and pressure, resulting in a durable surface that resists stains and scratches. This construction process not only makes laminate cabinets budget-friendly but also allows them to mimic the appearance of more expensive materials like wood or metal without the high cost or maintenance requirements.
In terms of applications, laminate cabinets are ideal for modern and contemporary kitchen designs due to their smooth, clean finishes and vibrant color options. They can be easily customized with various patterns and textures, enabling homeowners to achieve their desired aesthetic with creativity and ease. Additionally, their low maintenance needs, such as easy cleaning with soap and water, make them perfect for busy households seeking both style and practicality in their kitchen design.
MDF (Medium Density Fiberboard) Cabinets
MDF, or Medium Density Fiberboard, is a popular material for kitchen cabinets due to its affordability and durability, offering a cost-effective alternative to solid wood. Made from wood fibers bonded together with resin under heat and pressure, MDF provides a smooth surface that is easy to paint and customize, making it an ideal choice for those looking to have a sleek, uniform finish. Its dense construction affords a high level of durability, resisting warping and cracking, which is particularly beneficial in humid environments like kitchens.
In terms of budget-friendliness, MDF cabinets are a smart choice for homeowners who want the look of more expensive materials without the hefty price tag. They’re easy to work with, allowing for various finishes and colors to match any design preference. While MDF may not have the natural beauty of wood grains, it is an excellent canvas for painted finishes, offering flexibility in achieving both modern and traditional kitchen styles. This combination of cost efficiency and sturdy performance makes MDF cabinets a popular option for many kitchen remodels.
Metal Cabinets
Metal cabinets bring a sleek industrial aesthetic to kitchens, making them a popular choice for those seeking a modern, edgy look. Known for their clean lines and contemporary appeal, metal cabinets fit seamlessly into urban and minimalist designs. Their reflective surfaces also help in creating a sense of space and light, ideal for smaller kitchen layouts looking to maximize brightness and openness.
In addition to their stylish appearance, metal cabinets are highly durable, known for withstanding heavy use and challenging conditions without damage. They resist issues like warping, cracking, and moisture, which makes them incredibly resilient compared to other materials. Easy to clean and maintain, metal cabinets are perfect for busy kitchens where longevity and low upkeep are key considerations. This combination of style and durability makes metal cabinets a practical and trendy choice for any modern kitchen space.
Finish and Color Choices
Choosing the right finish and color for your kitchen cabinets can significantly influence the overall look and feel of your kitchen. With a variety of finishes available, from matte and glossy to natural wood stains, the choice can enhance both the aesthetic appeal and the durability of your cabinets.
Additionally, trending colors can transform your kitchen into a modern masterpiece or a cozy traditional space. Understanding these options allows you to pick a finish and color that complement your kitchen's style and your personal taste, ensuring your remodel meets both functional and aesthetic goals.
Overview of popular finishes
The finish you choose for your kitchen cabinets not only affects their appearance but also their durability and maintenance. Whether you prefer a modern sleek look or a cozy, rustic charm, selecting the right finish can enhance your kitchen's overall style and functionality. Here are the most popular ones:
Matte Finish
Matte finishes offer a smooth, non-reflective surface that provides a soft and sophisticated look to kitchen cabinets. They are excellent for hiding fingerprints and smudges, making them a practical choice for busy households.
Glossy Finish
Glossy finishes deliver a shiny, reflective surface that can add a modern and sleek touch to your kitchen. They amplify light, making spaces feel more open and vibrant, but may require more cleaning to keep smudges at bay.
Satin Finish
Satin finishes strike a balance between glossy and matte, offering a subtle sheen that enhances the natural beauty of cabinet materials. They are versatile and work well in both contemporary and traditional kitchen styles.
Natural Wood Stain
A natural wood stain accentuates the grain and texture of the wood, delivering a warm and inviting appearance. It’s perfect for those who appreciate the organic beauty of wood while wishing to protect the surface.
Distressed Finish
Distressed finishes mimic the look of age and wear, adding character and charm to cabinets. Ideal for rustic or farmhouse styles, they give the kitchen a cozy, lived-in feel.
Lacquer Finish
Lacquer provides a hard, durable coating that resists wear and tear, available in both matte and glossy varieties. Its adaptability and protective qualities make it a popular choice for high-traffic kitchens.
Painted Finish
Painted finishes allow for a wide range of color choices, offering a quick way to update and personalize the look of your cabinets. They provide a smooth, even surface and can be easily refreshed with a new coat over time.
Trending cabinet colors for modern and classic kitchens
Selecting the right color for your kitchen cabinets can greatly define the style and atmosphere of your kitchen, whether you're going for a modern vibe or a classic feel. Different colors can enhance the specific aesthetic you're aiming for in your remodel. Here's a look at trending cabinet colors for both modern and classic kitchens:
Modern Kitchens:
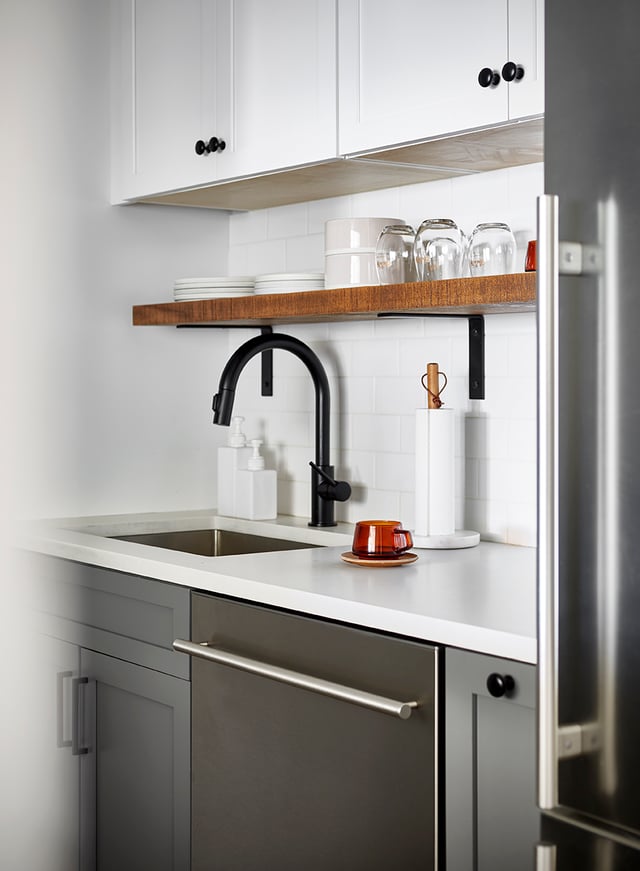
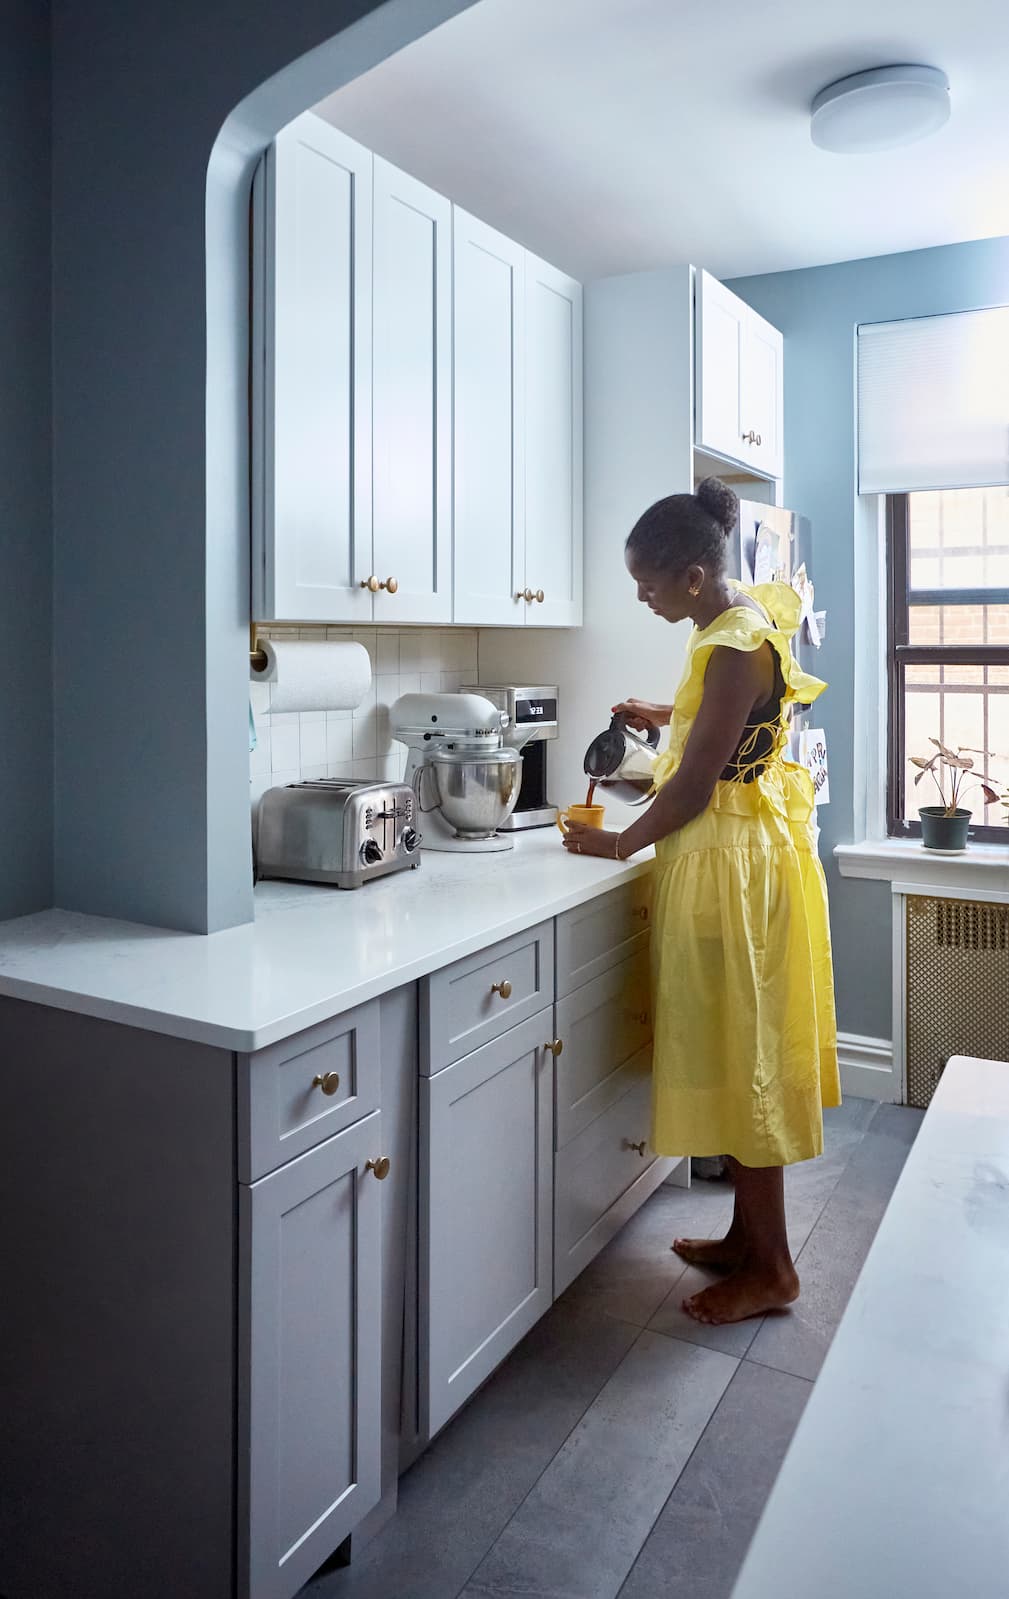
- White: Offers a clean, fresh look that emphasizes openness and light, easily blending with contemporary decor.
- Gray: Provides a sleek and sophisticated look with versatile shades that work well with modern accents.
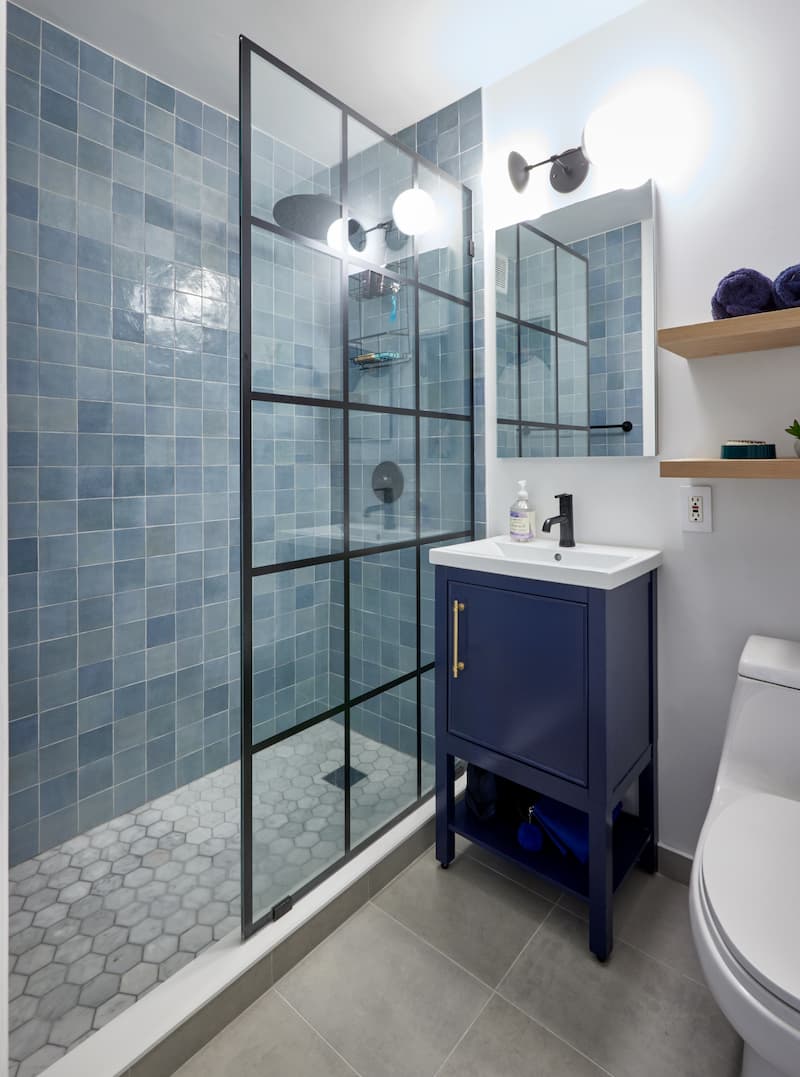
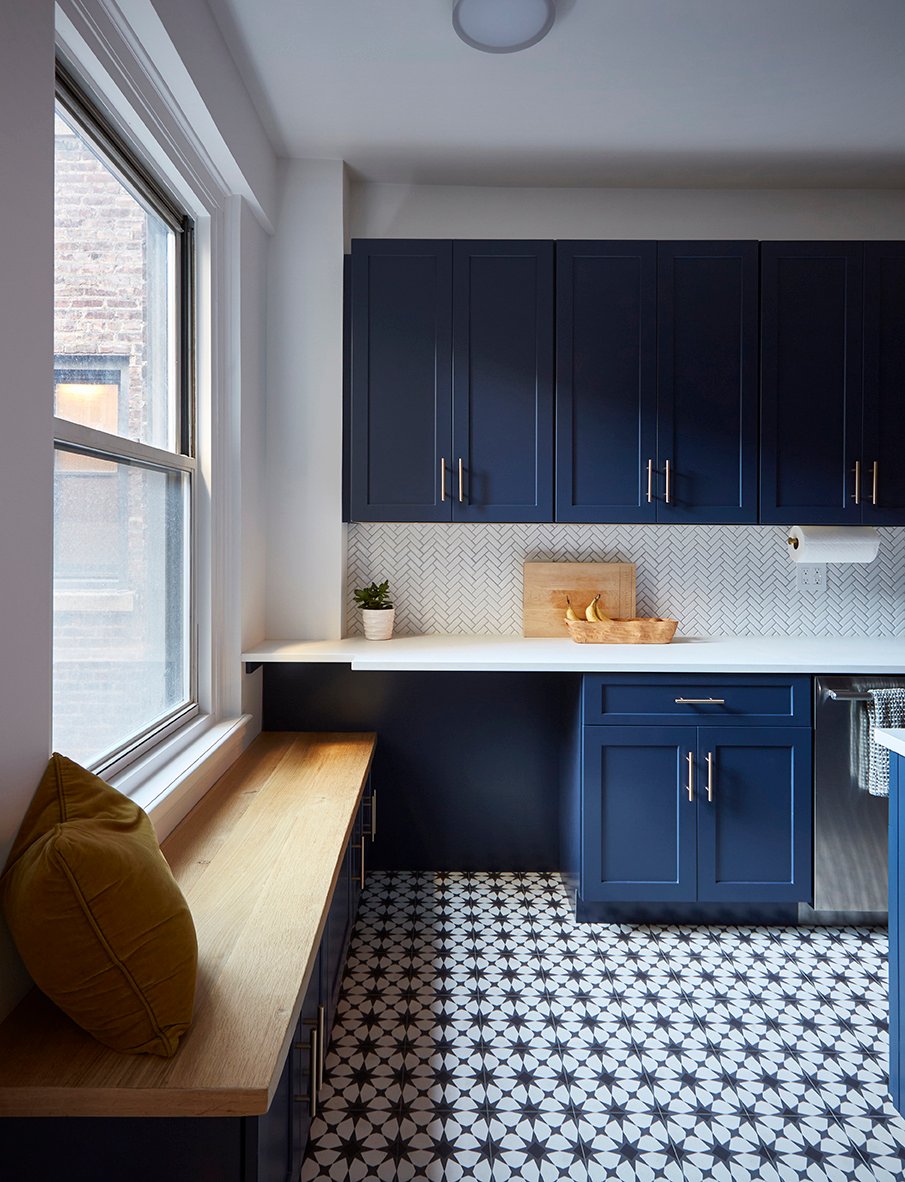
- Navy Blue: Adds a bold, stylish touch, creating a striking contrast when paired with metallic and neutral elements.
Classic Kitchens:
- Natural Wood Tones: Highlight the warmth and tradition of classic styles, allowing the natural beauty of wood to take center stage.
- Cream or Off-White: Offers a warm, inviting look that complements traditional design elements.
- Earthy Greens: From sage to olive, these colors give a refreshing yet timeless vibe, adding subtle color while maintaining a classic look.
Practical Considerations for Cabinet Choice
When selecting kitchen cabinets, it's crucial to consider practical aspects that will affect both day-to-day functionality and long-term satisfaction. Factors such as storage needs, budget constraints, and kitchen layout play significant roles in determining the best cabinet choice for your space. Additionally, considering maintenance and cleaning requirements can ensure your cabinets remain beautiful and easy to care for over the years.
Storage needs and functionality
When planning your kitchen cabinets, it's essential to think about the variety of items you need to store and how to make the most of your space. Consider the specific sizes and quantities of your cookware, utensils, and food items to ensure you choose cabinets that cater to your needs. Opt for features like adjustable shelves and custom organizers, which can help maximize storage and keep your kitchen neatly arranged.
Functionality should be a top priority, with cabinets designed to provide easy access to frequently used items. Think about incorporating pull-out shelves, lazy Susans, and deep drawers to enhance accessibility and make everyday tasks more efficient. The right combination of storage features will not only help organize your kitchen but also improve its overall functionality.
Budget constraints
Establishing a clear budget is a crucial step in selecting kitchen cabinets, as it ensures that you make informed choices without overspending. Cabinets can range significantly in price, from budget-friendly stock options to high-end custom designs, so understanding what fits within your financial plan is essential. Determining your budget early allows you to focus on obtaining the best quality and style without compromising other aspects of your remodel. You can also consider financing your kitchen remodel.
Custom cabinets offer unmatched personalization but can carry a hefty price tag, which may not be viable for everyone's budget. Fortunately, semi-custom and stock cabinets deliver stylish and functional solutions at more affordable prices. It's important to weigh the advantages of various options, considering factors like material, finish, and hardware, to ensure you receive the best value. By prioritizing features that matter most, you can effectively allocate your budget and achieve a kitchen that enhances both beauty and functionality.
Kitchen layout and space optimization
The layout of your kitchen significantly influences which cabinet options will best suit your space. It's important to choose cabinets that complement the existing layout and enhance the overall flow of the kitchen. For example, if you have a small kitchen, consider tall cabinets that utilize vertical space, or opt for corner cabinets to maximize otherwise unused areas. Thoughtful placement of cabinets can improve accessibility and ensure that all items are within easy reach.
Space optimization is crucial for a functional and organized kitchen, regardless of its size. Consider incorporating features like pull-out shelves, lazy Susans, and deep drawers to make the most of your cabinet space. These solutions provide easier access to items stored at the back and allow you to organize efficiently. Customizing the interior of cabinets with dividers and adjustable shelving can further enhance usability, helping you create a kitchen that meets your practical needs while maintaining a stylish appearance.
Maintenance and cleaning considerations
When selecting kitchen cabinets, it's essential to consider the maintenance and cleaning requirements associated with different materials and finishes. Cabinets with high-gloss finishes, for example, may show smudges and fingerprints more readily than matte finishes, necessitating more frequent cleaning. Wood cabinets often require specific cleaning products to preserve their natural beauty, while laminate options are usually easier to wipe clean with standard household cleaners.
Ease of maintenance can significantly impact your long-term satisfaction with your cabinets. Choosing materials and finishes that align with your lifestyle can save time and effort in the long run. If you prefer low-maintenance options, consider cabinets with durable surfaces that resist stains and scratches, such as those made from MDF or metal. By prioritizing cabinets that are simple to clean, you ensure that your kitchen remains both functional and visually appealing over the years.
Conclusion
Selecting the right type of kitchen cabinets is crucial as it impacts not only the functionality and storage capacity of your kitchen but also its overall aesthetic and value. By carefully considering elements such as material, style, budget, and maintenance, you can choose cabinets that perfectly align with your needs and preferences. Making an informed decision ensures that your kitchen remodel results in a beautiful, efficient, and long-lasting space that you’ll enjoy for years to come.
Renovate confidently with Block
Easily compare quotes from top quality contractors, and get peace of mind with warranty & price protections.