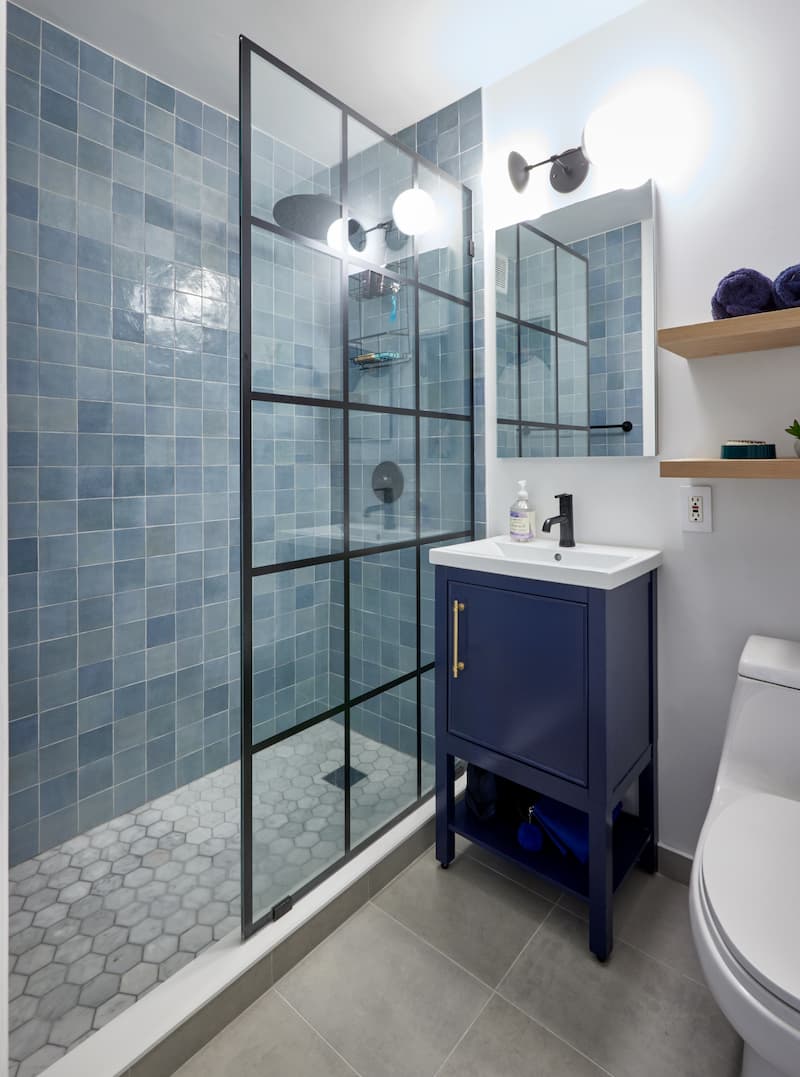
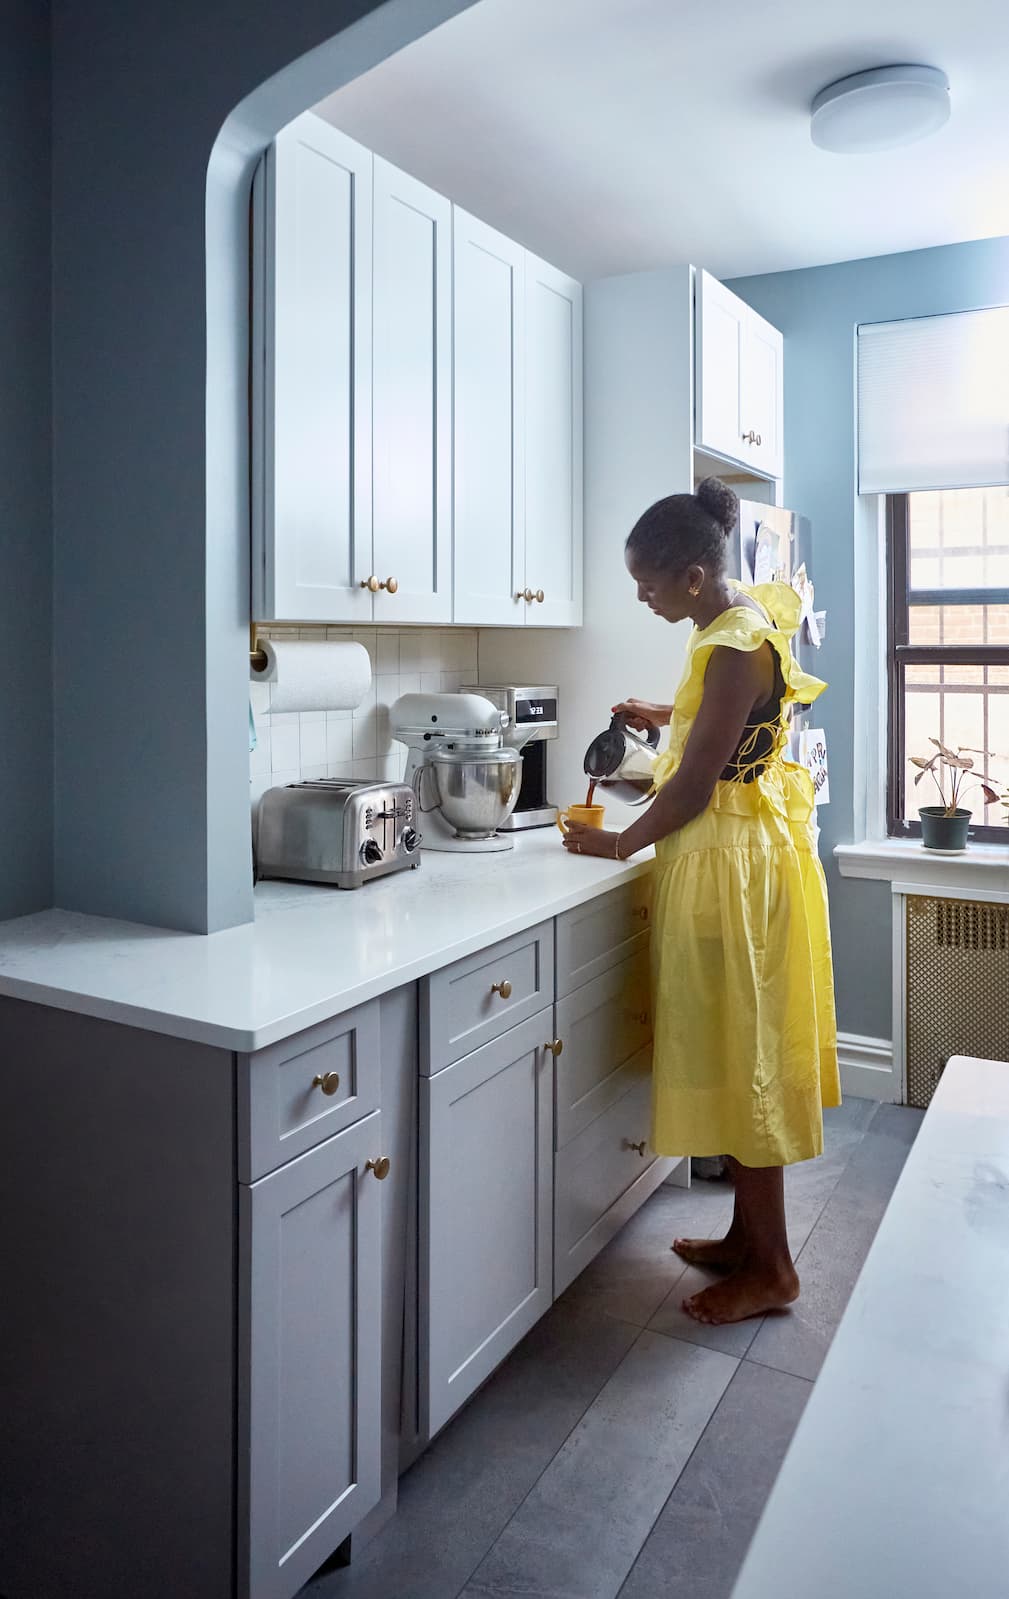
Tile backsplashes are generally used to protect the wall behind areas like the sink or stovetop, but homeowners often choose to run it the entire length of the countertops, or even all the way up the wall. If you’ve picked the perfect tile for your kitchen backsplash, the next question becomes whether you feel up to the task of installing it yourself or whether you’d rather call in a professional. To guide you through it, we laid out the steps below:
Installing Tile Backsplash
Prepare Your Walls for Tile
To install a tile backsplash in the kitchen, it is vital to ensure that your walls are clean and dry. Start by clearing your kitchen space and remove all the appliances from the wall or countertops.
Once you’ve cleared the area, attach a ledger board to the wall for support. Use the screws to pin the ledger board to the wall studs. Make sure you screw it at the point where the bottom edge of the backsplash will be placed. This board will act as temporary support for the tile until the adhesive starts working.
Clean your walls thoroughly. You can use a mixture of heavy-duty cleaner and water to de-gloss surfaces. Check your walls for any dents, dips, and ripples and use joint compounds to fill them and smooth out the surface area of the wall for installation.
Plan the Layout of the Tile
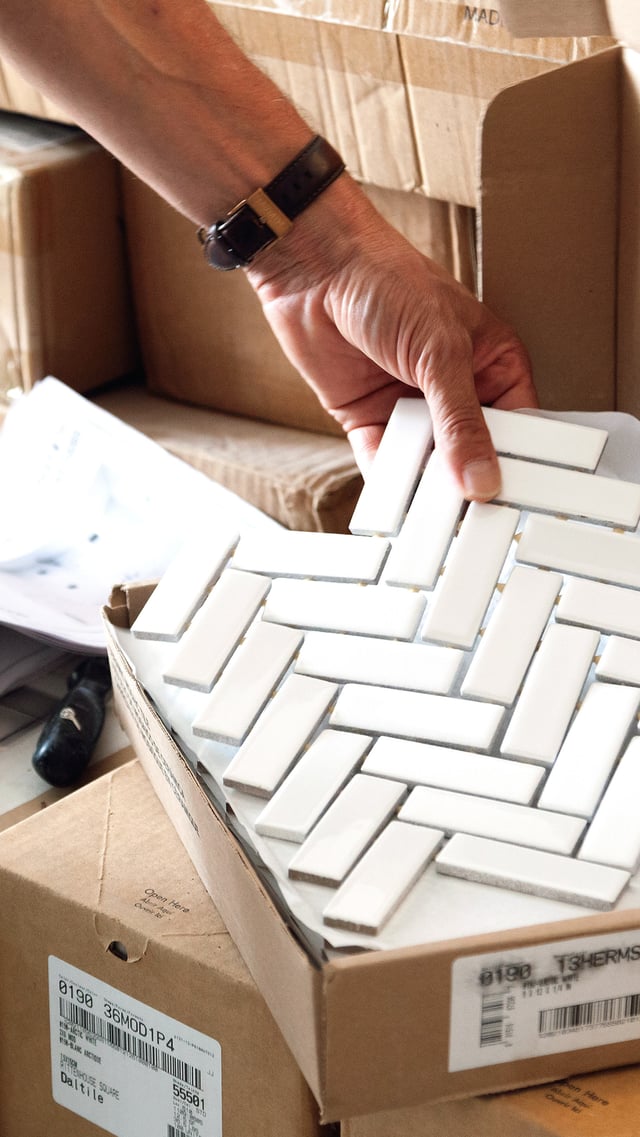
Find the center point of the wall and mark a vertical line. You can also consider centering your tile on a focal point like a faucet or stove. It depends on what works best according to your space and the pattern of your tile.
Dry-lay the tile horizontally on the countertop along the wall. Use spacers to ensure that the tile fits perfectly. Make sure to check the ends once you’ve laid the tile.
After adjusting the horizontal tile design, move to the vertical layout. Find the lowest point of the countertop and hold the tile at this spot to mark its top on the wall. Using a level, extend this line along your work area. This line will help you fit the tile along the counter.
Apply the Adhesive to the Wall
The installation process depends on the type of adhesive you use. You can use either a pre-mixed or powdered wall tile adhesive. While the pre-mixed adhesive is ready to be used, for the powdered adhesive, you will have to mix it with water and smoothen its consistency.
Once you’ve got your adhesive ready, you can use the flat side of a notched trowel to apply it on the walls. Since the adhesive dries out quickly, work fast or divide your area in sections.
Lay the Tile
You can now begin laying the tiles on the wall. This is where all the prep work will come in handy. Lay the tiles per the lines you drew earlier. To ensure that your tiles are lined up properly, use tile spacers.
Moreover, to settle the tiles into place, you can also consider slightly rocking the sheet around, perpendicular to the trowel lines.
Grout the Tile
Prepare your grout by filling a bucket with water and adding the grout powder. Mix it thoroughly and let it stand for 5-10 minutes before re-mixing it with more water. Once your grout is ready, you can only use it for a limited time; around 2 hours.
Using a grout float, apply the grout at a 45-degree angle and wipe off any excess. Repeat this process multiple times and after about 3 hours, you can remove the last haze of grout. Once this is done, wipe down the face of the tiles to make them look neat and clean.
How to Remove a Tile Backsplash
While learning how to install a backsplash is important, it is equally important to learn how to remove one.
Similar to the installation process, start by clearing the space by removing all the appliances. After this, cut the power to the area from where the tiles will be removed to ensure safety.
To remove the tile, run the grout cutter around the edges of the tile. To reduce the damages to your drywall, make an X motion within the tile with the tile cutter. This will loosen the tile and make it easier to remove.
Using a hammer, tap the tile and you will see pieces falling off. After this, use the flat head screwdriver and hammer at the corner to remove it. Once the tile has been removed, get rid of all the excess grout using a scrapper.
Wrapping Up
A kitchen isn’t complete without a tile backsplash. Little details like these help add style and character to the kitchen.

Written by
Block Renovation
Block Renovation personalizes home remodeling with free AI-powered design tools and a vetted contractor network, helping homeowners plan, visualize, and build with confidence.


.png?width=640&name=u5821215421_A_bright_airy_kitchen_with_natural_wood_backsplas_7a7db28d-cc4f-42f5-bdec-7a0e452f10b2_0%20(2).png)