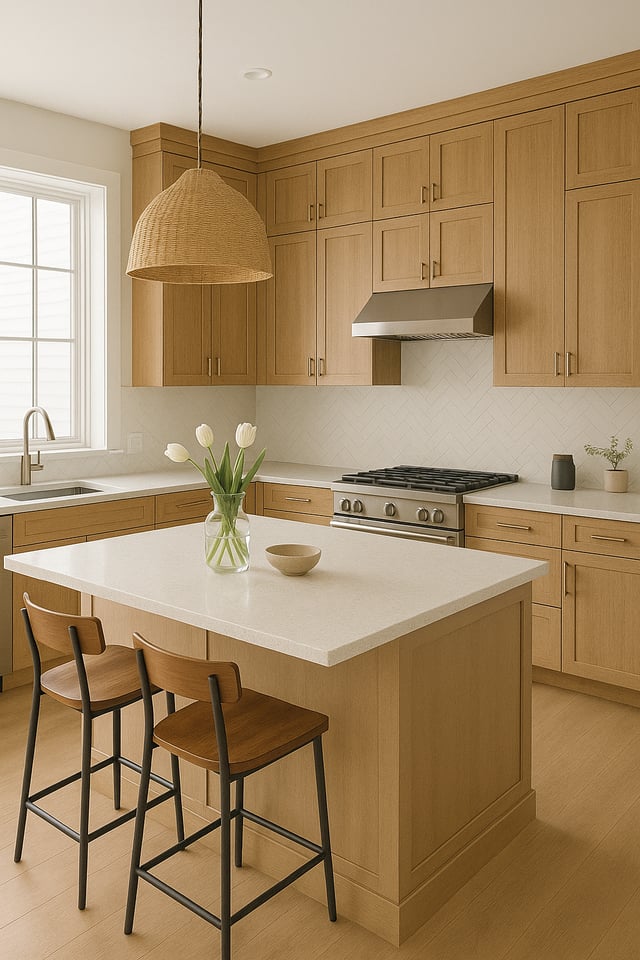
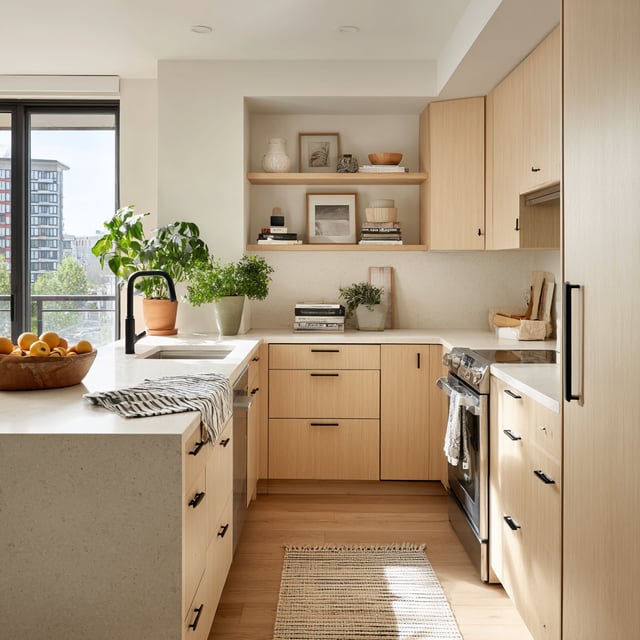
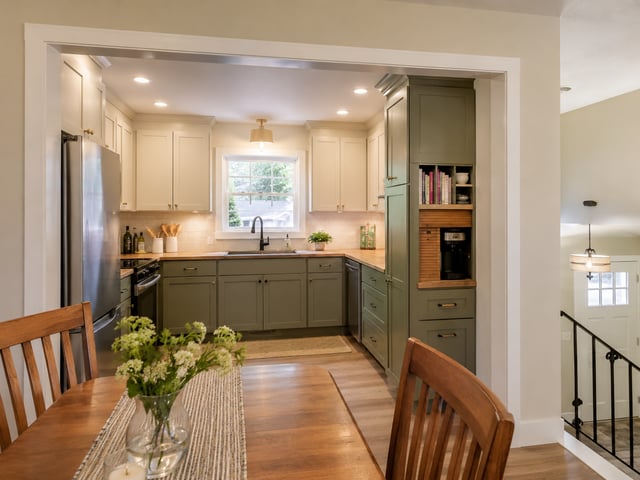
Plumbing decisions come earlier in a kitchen remodel than most homeowners expect. The day the cabinets are ordered, the sink location, drain routing, and appliance hookups are effectively locked, whether or not anyone talked them through. Getting those decisions right up front means the rough-in goes smoothly and the countertop arrives with holes where the fixtures actually sit. The kitchen plumbing tips below, more than 50 in all, cover the full arc of a kitchen plumbing remodel, from layout planning through final inspection.
Use the table of contents to find the kitchen plumbing tips that apply to your project. A homeowner keeping the sink in place needs different guidance than one adding an island sink or replacing 60-year-old supply lines.
Planning and layout tips
Most kitchen remodel plumbing problems start as layout decisions, and layout is also the cheapest stage to fix them.
- Set the plumbing plan before demo begins. Cabinet boxes get built around the rough-in locations, so those locations need to be final before the cabinet order goes in.
- Keep the sink in its existing location when possible. Moving it adds $500 to $2,000 or more, and the cost climbs with distance from the existing drain and vent. See what drives those numbers in our guide to rerouting plumbing costs.
- If you move the sink, confirm the drain can hold its slope. A kitchen drain needs 1/4 inch of fall per foot to the stack, and a long horizontal run can make that impossible without opening the floor.
- Verify vent routing before relocating any fixture. An unvented sink drains slowly and gurgles, and fixing venting after drywall is far more expensive than planning it up front.
- Plan plumbing early if you're expanding the kitchen's footprint. Absorbing an adjacent room usually shifts the sink, island, or both into territory with no existing drain or vent runs, which puts plumbing at the center of the budget. Our guide to expanding your kitchen into your dining room covers what the project involves.
- Locate the dishwasher within 6 feet of the sink drain. Most dishwasher drain hoses are designed for that distance, and the appliance's pump has limits on how far it can push wastewater. A dishwasher placed farther away needs its own drain connection, which adds cost during rough-in.
- Budget extra for an island sink. An island requires a loop vent or island vent under code, which involves more pipe and labor than a standard wall-adjacent sink.
- Have the plumber and cabinet installer review the final layout together. Most kitchen plumbing remodel conflicts happen at that handoff, when a supply stub lands behind a cabinet back panel or a drain sits an inch from where the sink base expects it.
- Leave working plumbing alone on a mid-range budget. Relocating pipes and gas lines consumes budget that finishes and fixtures would show off far better. See where the rest of the money goes in our guide to kitchen remodeling costs.
Chris Murphy, Waterfront Real Estate Expert, Staging & Design Specialist and founder of Waterfront Homes, LLC, has watched plumbing moves eat kitchen budgets that should have gone to the surfaces homeowners actually see:
Murphy applies the same test to appliances: update them only when the change makes the appliance easier to use, which typically points to the range or the dishwasher rather than a full suite swap. The resale data supports his approach, since the Cost vs. Value Report consistently shows minor kitchen remodels recouping a higher share of their cost than major ones that move systems around.
Cabinet, sink, and countertop tips
Plumbing and cabinetry decisions depend on each other, and the ordering deadlines usually arrive first.
- Verify the sink base cabinet width against the sink's minimum requirement before ordering. A 33 inch sink typically needs a 36 inch base, and an undersized cabinet cannot be fixed after delivery.
- Dry-fit every deck-mounted fixture before countertop fabrication. The faucet, soap dispenser, filter tap, and air gap all need holes, and extra holes cannot be undone in stone.
- Confirm the countertop overhang and backsplash thickness won't block the faucet handle's swing. A single-handle faucet mounted close to the wall can hit the backsplash before it reaches full hot, and the fix usually means replacing the faucet.
- Plan under-sink space before ordering cabinets. Filtration systems, disposals, and pull-out trash all compete for the same cabinet, and the conflicts only show up when everything is installed.
- Check disposal clearance under deep sinks. Farmhouse and workstation sinks sit lower in the cabinet, and some disposals will not fit beneath them.
- Use a bottom-mount or rear-outlet drain assembly on workstation sinks. Routing the drain toward the cabinet back recovers storage space that a center-drain trap would otherwise occupy.
Supply line and shutoff tips
A remodel is the cheapest moment you will ever have to replace aging supply plumbing, because the walls are already open.
- Upgrade supply lines to PEX or copper during the remodel. Old galvanized pipe is already corroding from the inside, and new fixtures connected to it inherit its remaining lifespan. Learn more about pricing new lines with our guide to plumbing installation costs.
- Replace angle stops while walls are open, even if the old ones still work. Shutoff valves fail from age and disuse, and the one under your sink will fail the day you need it.
- Choose quarter-turn ball valves over multi-turn stops. Multi-turn valves rely on rubber washers that harden and seize over years of sitting untouched. A quarter-turn ball valve shuts off fully with one motion and keeps working after a decade of neglect.
- Give the dishwasher its own shutoff. Teeing off the sink's hot supply without one means shutting down the whole sink to service the appliance.
- Run a dedicated cold line with a shutoff for the refrigerator ice maker. Skip saddle valves entirely; they clog and leak, and many jurisdictions no longer allow them.
- Use braided stainless supply connectors, not plastic or rubber. Plastic and rubber lines are a leading source of under-sink water damage, and the price difference is a few dollars per connector.
- Match new pipe material to existing pipe correctly. Copper joined directly to galvanized steel corrodes at the joint, so the connection needs a dielectric union.
- Replace polybutylene supply lines if your home has them. Insurers increasingly flag polybutylene, and a kitchen remodel is the practical moment to remove it from at least that zone of the house.
Drain, vent, and trap tips
- Size the kitchen sink drain at 1 1/2 inches minimum. Go to 2 inches if the run is long or shared with another fixture.
- Treat air admittance valves as a fallback, not the default. Use one only where the International Code Council provisions adopted in your jurisdiction allow it, and prefer a conventional vent whenever the framing permits it.
- Slope and strap drain lines inside cabinet runs. Unsupported horizontal pipe sags over time, and a sagging drain holds water and debris.
- Keep the P-trap accessible. The trap is where rings, clogs, and odor problems get resolved, so it needs to be reachable with a wrench. Behind a fixed cabinet panel, the same fix requires removing finished carpentry first.
- Run the disposal drain into the tee above the trap. The trap's water seal is what keeps sewer gas out of the kitchen, and the disposal needs to drain through it like every other fixture. Any configuration that bypasses the trap violates code and will fail inspection.
- Locate cleanouts where they remain reachable after cabinets go in. A cleanout is the access point a plumber uses to clear a blocked drain line without cutting pipe. Kitchen drains clog more than any other line in the house because of grease and food waste. A cleanout sealed behind a finished panel means opening cabinetry the first time the line backs up.
- Camera-scope the main drain line before a major remodel in a home over 40 years old. Cast iron often fails from the inside, and a scope costs a few hundred dollars against the several thousand it takes to excavate a failed line under a finished kitchen. See when full replacement of aging systems makes sense in our guide to kitchen gut renovation costs.
Appliance connection tips
- Rough in the dishwasher drain with a high loop or air gap. Local code decides which one applies, and both exist to prevent drain water from backflowing into the appliance.
- Plan the garbage disposal's wiring and switch location during rough-in. Adding a switch after cabinets go in means cutting into finished surfaces.
- Set the fridge supply outlet at the right height. A poorly placed ice maker box keeps the refrigerator from pushing fully back to the wall.
- Use recessed supply and drain boxes where appliance depth is tight. A recessed box sets the valve and connection inside the wall cavity instead of proud of the drywall. That inch or two of recovered depth is often the difference between a fridge that sits flush and one that sticks into the walkway.
- Install a water hammer arrestor at the dishwasher connection. Dishwashers and washing machines use solenoid valves that snap shut instantly, sending a pressure shockwave back through the supply line. That banging sound is the pipe physically jumping, and over time it loosens fittings and stresses connections. An arrestor is a small sealed air chamber that absorbs the shock, and it installs in minutes while the plumbing is open.
Upgrade tips worth adding while walls are open
Some additions cost almost nothing during rough-in and a great deal later.
- Add a pot filler supply line even if you're undecided. Capping an unused line costs little, while adding one after tile is a wall-opening project.
- Plan filtration early. A reverse osmosis system needs a drain connection, a tank footprint under the sink, and often a dedicated faucet hole in the countertop.
- Choose a WaterSense-labeled faucet. Faucets carrying the EPA's WaterSense label flow at 1.5 gallons per minute instead of the standard 2.2, about a 30% reduction, without a noticeable pressure drop at the handle.
- Tie in a water softener loop or whole-house filter during the remodel. Retrofitting either one later means opening finished walls to reach the supply lines you have exposed right now.
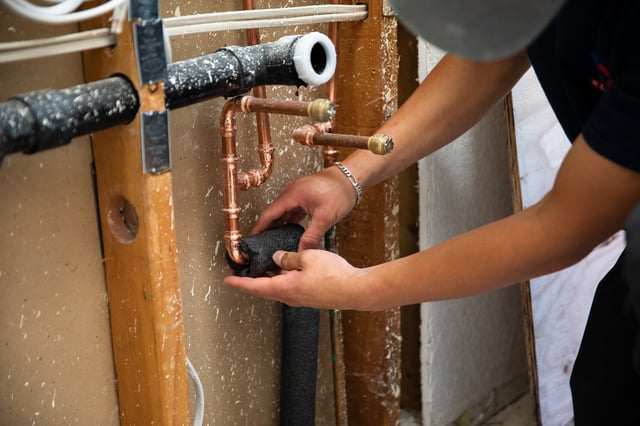
- Insulate hot water lines to reduce wait time and heat loss. Pipe insulation costs a few dollars per run and pays for itself in water and energy savings over the life of the kitchen.
- Consider a recirculation pump or point-of-use heater if the kitchen sits far from the water heater. Waiting 40 seconds for hot water at the sink is a solvable problem, and rough-in is when solving it costs the least.
System protection tips
- Check static water pressure before finishing the job. Anything over 80 psi calls for a pressure reducing valve, because sustained high pressure shortens the life of every fixture and appliance connection in the house.
- Protect PEX from sunlight during construction. Prolonged UV exposure degrades PEX before the walls ever close.
- Keep PEX and other supply lines at the code-required distance from heat sources. Recessed lights, flues, and water heater vents all generate enough heat to damage plastic pipe over time, and inspectors check for these clearances.
- Add nail plates over any pipe passing within 1 1/4 inches of a stud face. A nail plate is a small steel shield that fastens to the framing over the pipe's path. Drywall screws, trim nails, and future picture hangers all reach deep enough to puncture an unprotected line. The leak from a punctured pipe often stays hidden inside the wall until the damage is extensive, and the plates cost under a dollar each.
- Keep supply lines out of exterior walls in cold climates. Where an exterior run is unavoidable, insulate on the exterior side of the pipe so wall insulation works in your favor rather than against it.
- Cap abandoned lines at the branch, not just at the fixture. A capped stub left at the fixture creates a dead leg where water sits stagnant.
Code, permit, and inspection tips
The tips in this section prevent the most expensive mistakes on the list.
- Confirm whether your jurisdiction requires a permit for fixture relocation. Most do, and unpermitted plumbing work surfaces during home sales and insurance claims. Our guide to kitchen remodeling permits covers when one applies and what it costs.
- Expect an extra approval layer in a condo. Most buildings require board sign-off on plumbing work, and many prohibit relocating wet areas over a neighbor's dry space, which can rule out an island sink entirely. Learn more about building rules with our guide to condo kitchen remodels.
- Schedule the rough-in inspection before insulation and drywall. Covering unapproved work means reopening finished walls if the inspector finds a problem.
Testing and documentation tips
- Pressure test all new lines before closing the walls. The test pressurizes the system and holds it, so any drop on the gauge reveals a leak while every joint is still visible and reachable. Most jurisdictions require the test to pass before the rough-in inspection is signed off.
- Test for leaks at every connection after installation, then re-check 24 to 48 hours later. Slow leaks at compression fittings often take a day to show themselves.
- Photograph the open walls with a tape measure in frame before drywall. Those photos become the map for every future repair, upgrade, and shelf-anchoring decision.
- Leave a plumbing access panel or removable toe kick near concealed connections. Valves and traps behind fixed panels are effectively unserviceable without demolition. A removable toe kick costs the cabinet installer a few extra minutes and keeps every connection behind it serviceable for the life of the kitchen.
Put these kitchen plumbing remodel tips to work with Block Renovation
The contractor you hire determines how many of the tips above happen by default. Block Renovation matches homeowners with vetted local contractors, and every project scope gets an expert review to catch missing line items, like a skipped rough-in inspection or an unpriced vent run, before work begins. Tell Block your project details once and have your area’s best contractors compete for it.

Written by
Keith McCarthy
Keith McCarthy
Keith McCarthy is a Senior Project Planner at Block Renovation, helping homeowners feel confident in their renovation journey. He coordinates site visits to proposal reviews to negotating contracts all to make sure his clients have the best experience here at Block.