



Ceilings
Ceiling Tiles vs. Drywall: Cost and Other Considerations
09.18.2026
08.21.2026


In This Article
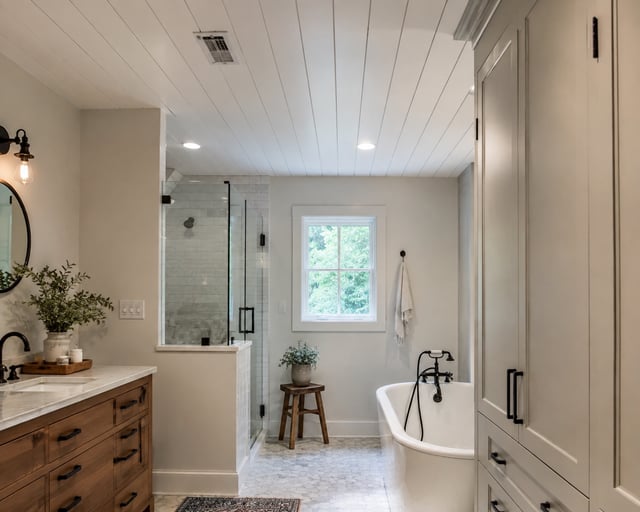
You’ve probably made decisions about tile, the vanity and paint before giving much thought to the ceiling. The appeal of a shiplap ceiling in bathroom design is easy to see: the boards add texture to an otherwise plain surface, and their direction can emphasize the width of a narrow room or the height of a vaulted one. Materials cost roughly $2 to $6 per square foot, so a 40 to 50 square foot ceiling doesn’t require a huge material budget.
But shiplap isn’t right for every bathroom or every part of one. A powder room gives you far more material freedom than the ceiling directly over a shower, while stained wood in a full bath needs protection on surfaces you’ll never see once it’s installed. Figure out where the moisture is first. Then you can make the more enjoyable decisions about color, gap width, board direction and how much of the room you want to cover.
Design a Home That’s Uniquely Yours
Block can help you achieve your renovation goals and bring your dream remodel to life with price assurance and expert support.
Get Started
Start with the wettest part of the bathroom when deciding what belongs overhead. You can still carry the same shiplap look through the room, but the material may need to change before you get to the design choices.
Treat the ceiling directly over a shower as its own material zone. Wood and MDF stay damp too long in that location, so use PVC tongue-and-groove planks above the showerhead.
PVC costs about $3 to $6 per square foot and is available in nickel-gap profiles that look similar to painted wood. If another part of the ceiling uses primed pine, matching the paint helps the two materials sit comfortably beside each other.
A few details make a noticeable difference:
Still, there’s no reason to use PVC over the vanity or toilet simply because the shower requires it. Limit it to the wet zone if you prefer the look of painted wood elsewhere.
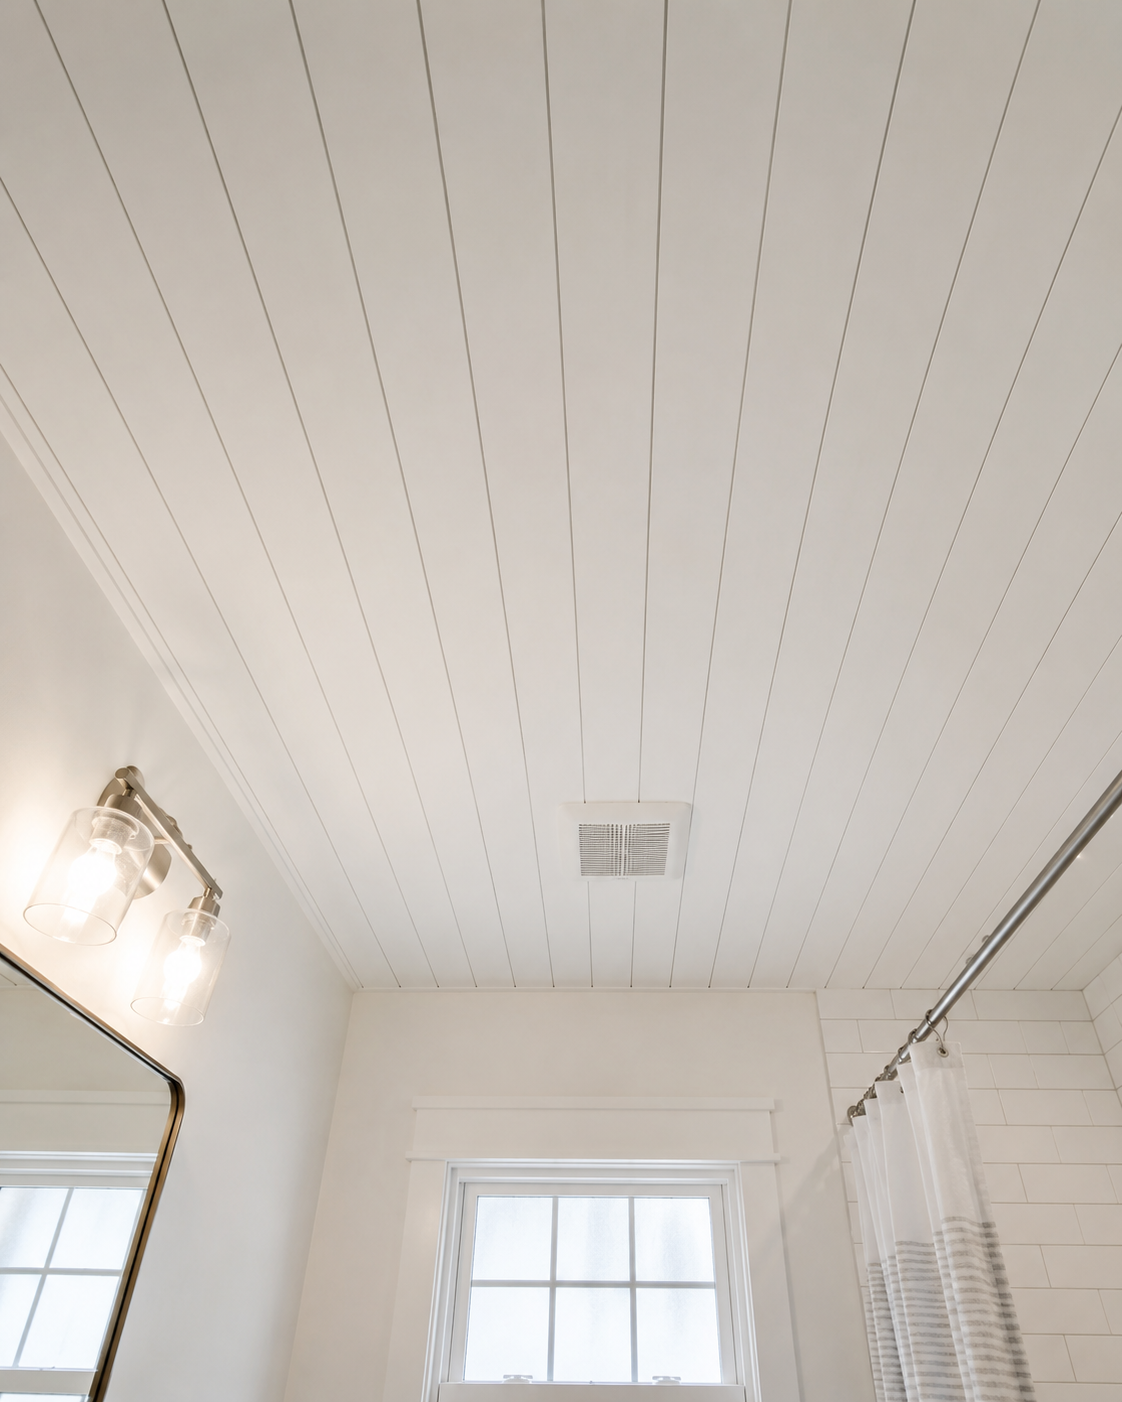
How much gap do you actually want to see from below? In a small bathroom, not much.
A nickel-gap profile leaves roughly 1/8 inch between boards. That’s enough separation for the individual planks to register without turning the ceiling into a field of dark stripes. Move up to a 1/4-inch or 3/8-inch reveal in a 5-by-8 bathroom and the gaps become much more prominent from an 8-foot viewing distance.
The narrower opening also leaves less space for dust and condensation to collect. Primed MDF nickel gap costs about $2 to $3 per square foot and works well in powder rooms. In a full bath, look at primed pine or PVC.
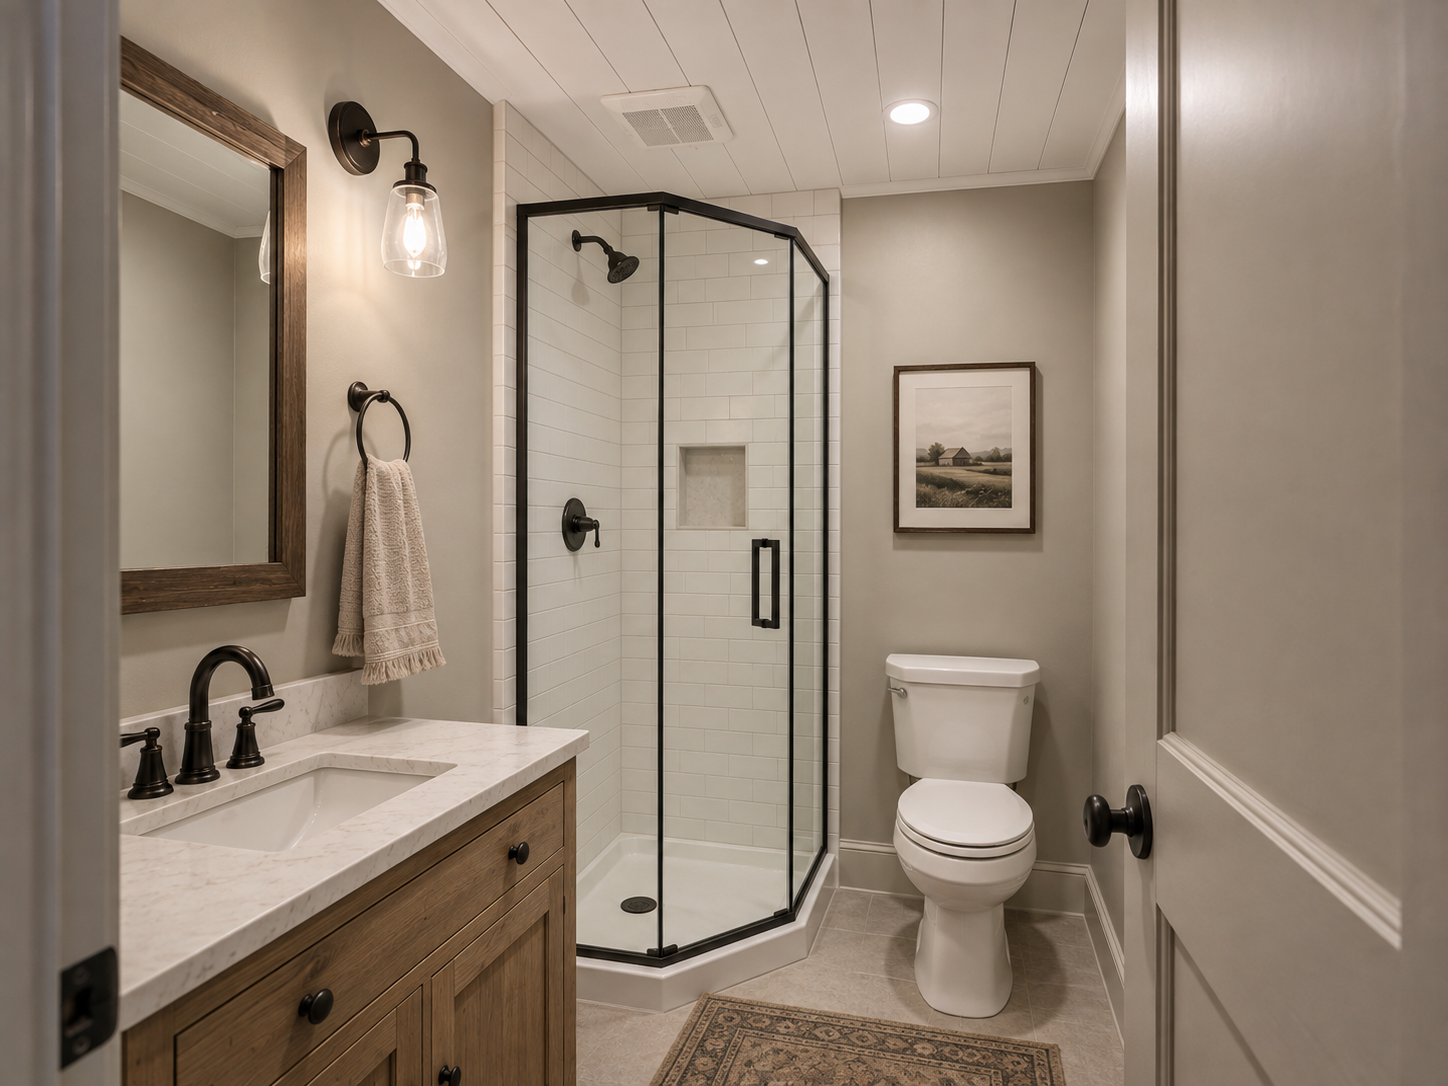
White works especially well when tile, wallpaper or a colorful vanity already gives the room plenty to look at. Matching the ceiling to the walls keeps the palette simple while the grooves add texture. Use bathroom-rated satin or semi-gloss so condensation and cleaning are easier on the finish.
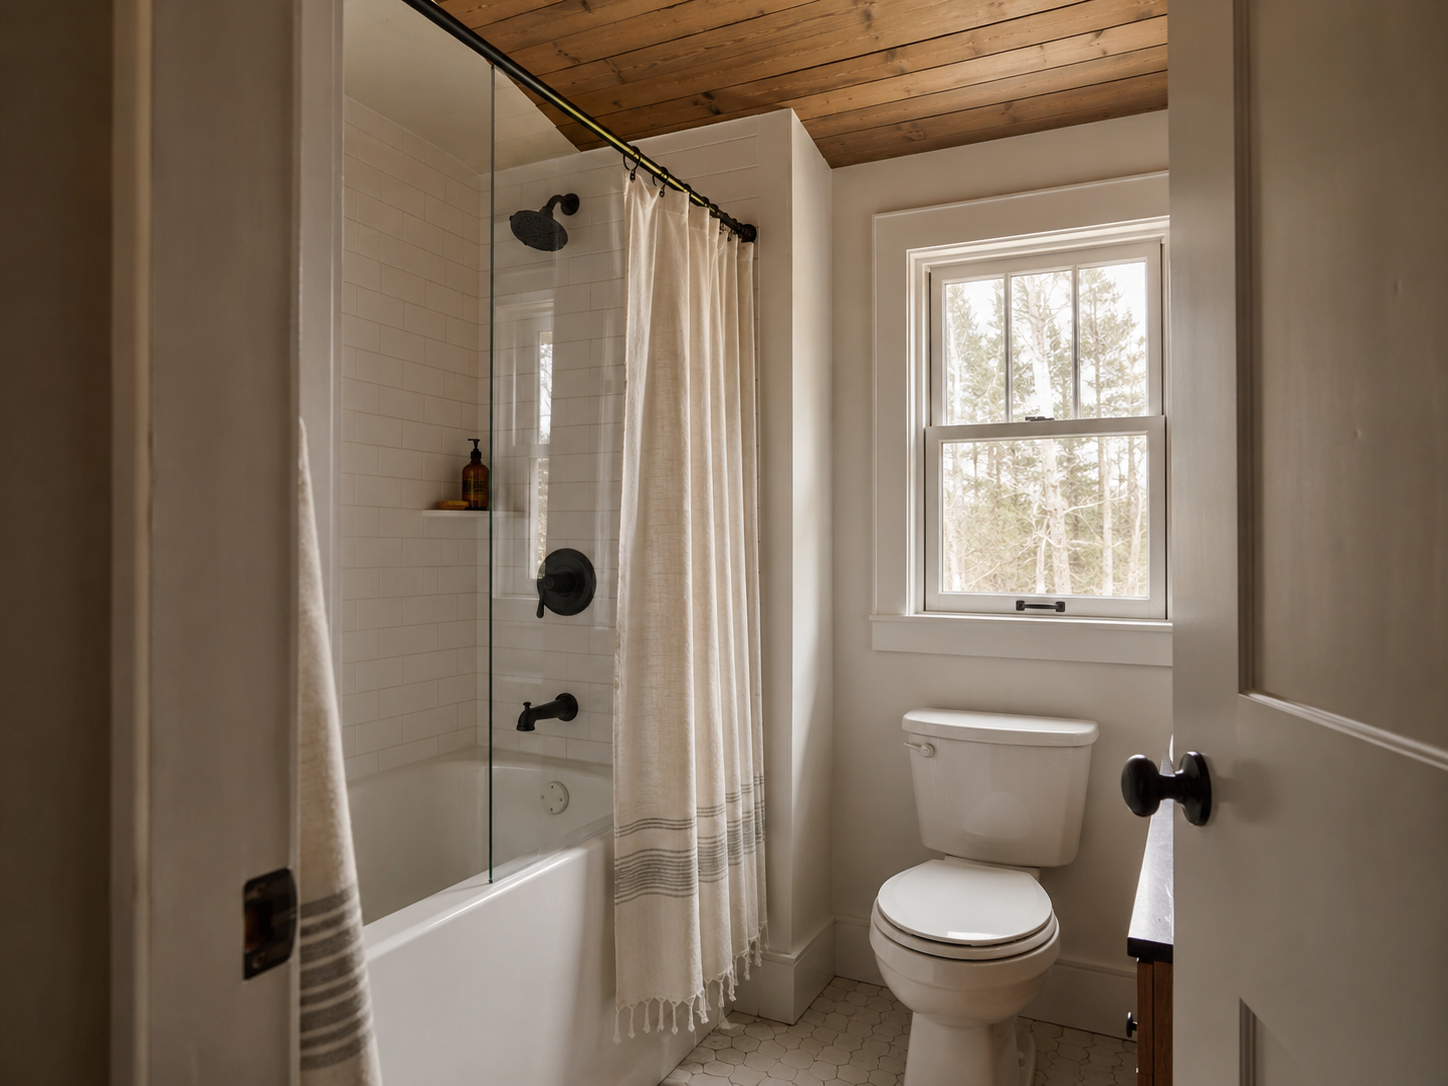
The mistake is assuming stained boards are protected once the color looks finished. In a full bathroom, cedar or pine still needs a film-forming topcoat rated for humid interiors.
Apply it before installation to the face, back, sides and cut ends of every board.
Why do we say this? After the ceiling goes up, the backs and much of the edge surface become inaccessible. Leaving them unfinished gives moisture another way into the wood and raises the risk of cupping, darkened edges and seams that begin to open.
Stained wood does have a strong design case. Bathrooms rely heavily on porcelain, glass, stone and other hard surfaces, so cedar or pine overhead introduces a warmer material without requiring wood flooring or cabinetry. Clear pine and cedar cost roughly $4 to $8 per square foot before labor, with prefinishing adding to the work involved.
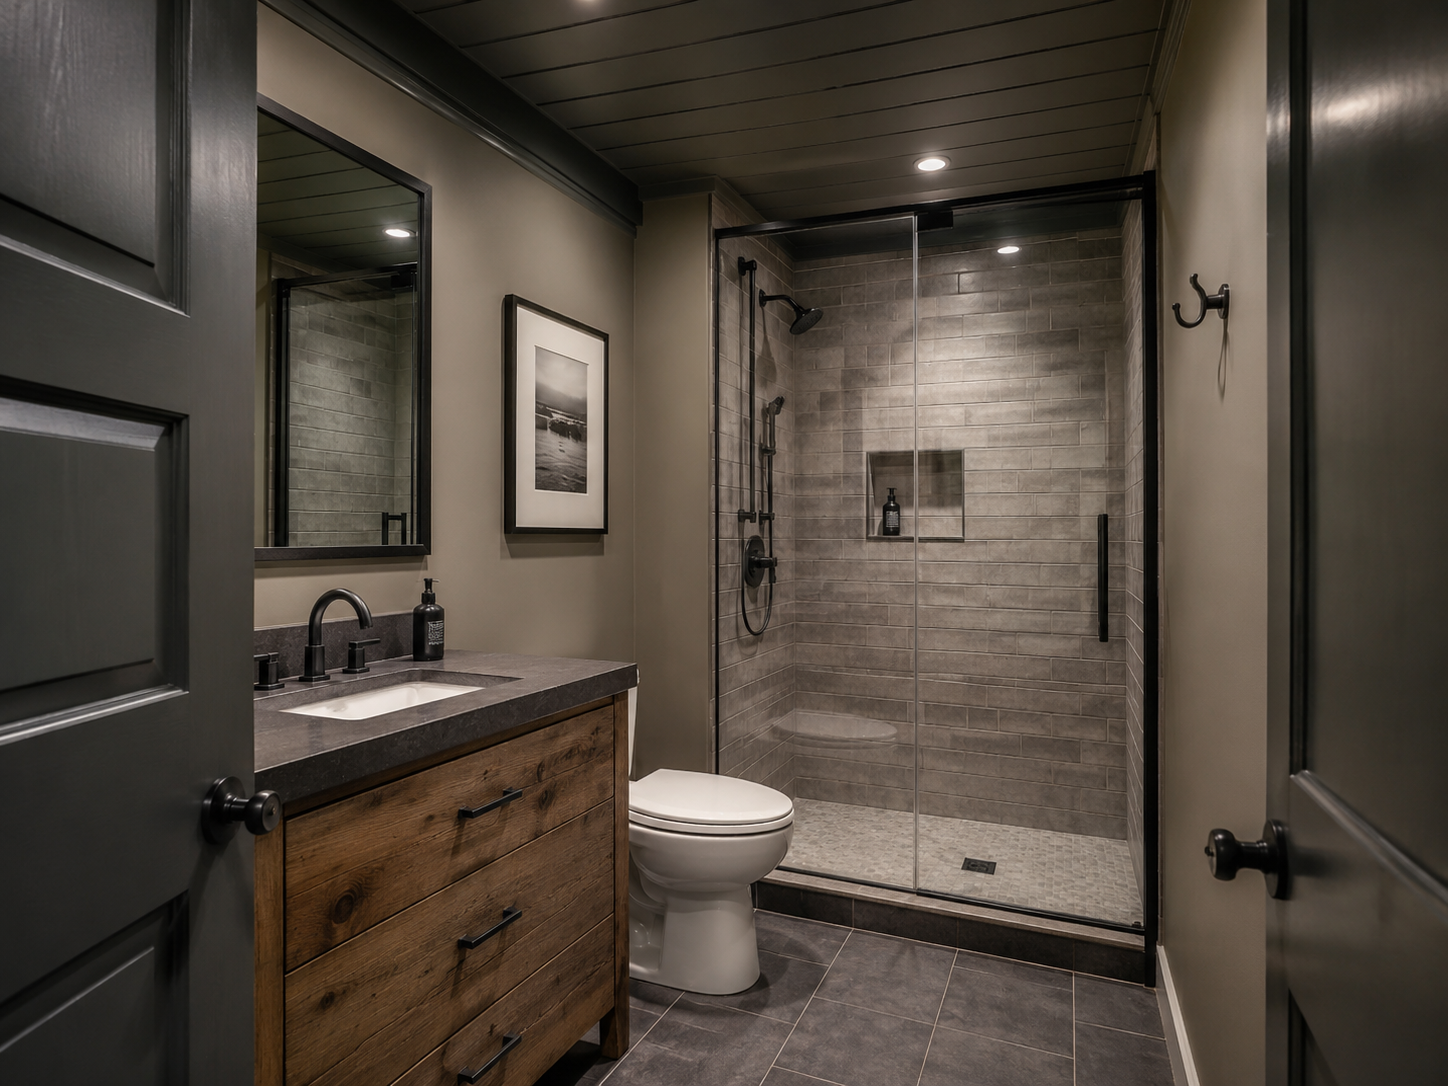
White is common, but shiplap is much more color-friendly than people give it credit for. Deep green, navy, muted terracotta, soft blue, or even near-black can make the grooves more noticeable and give the ceiling a stronger role in the room. If the tile and vanity are fairly restrained, color overhead is an easy way to add personality without introducing another patterned surface.
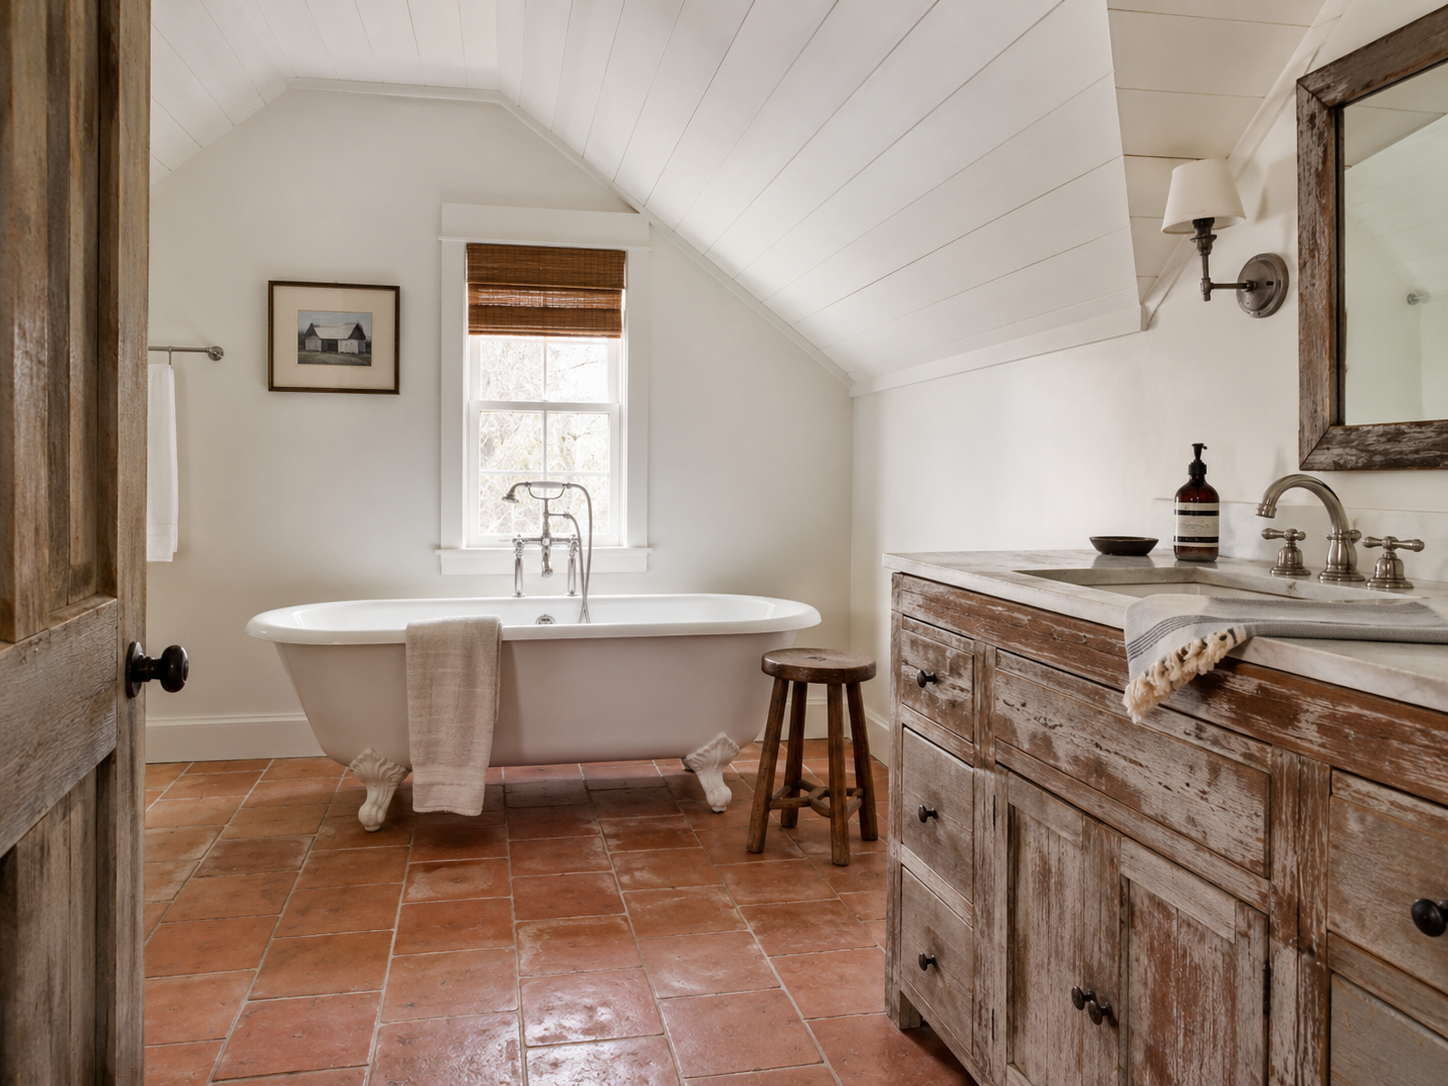
And on a sloped ceiling, board direction becomes an even bigger part of the room. Run the planks up the pitch and the lines lead toward the highest point, a useful effect in attic bathrooms where part of the roofline drops close overhead.
Shiplap is also well suited to ceilings with several changes in angle. Dormers, knee walls and intersecting slopes create multiple drywall joints; boards let you finish those transitions with trim while maintaining the same material across the larger ceiling planes.
The roofline will also influence the layout below. In bathrooms with slanted ceilings, headroom becomes part of deciding where the shower, bathtub, vanity and storage belong.
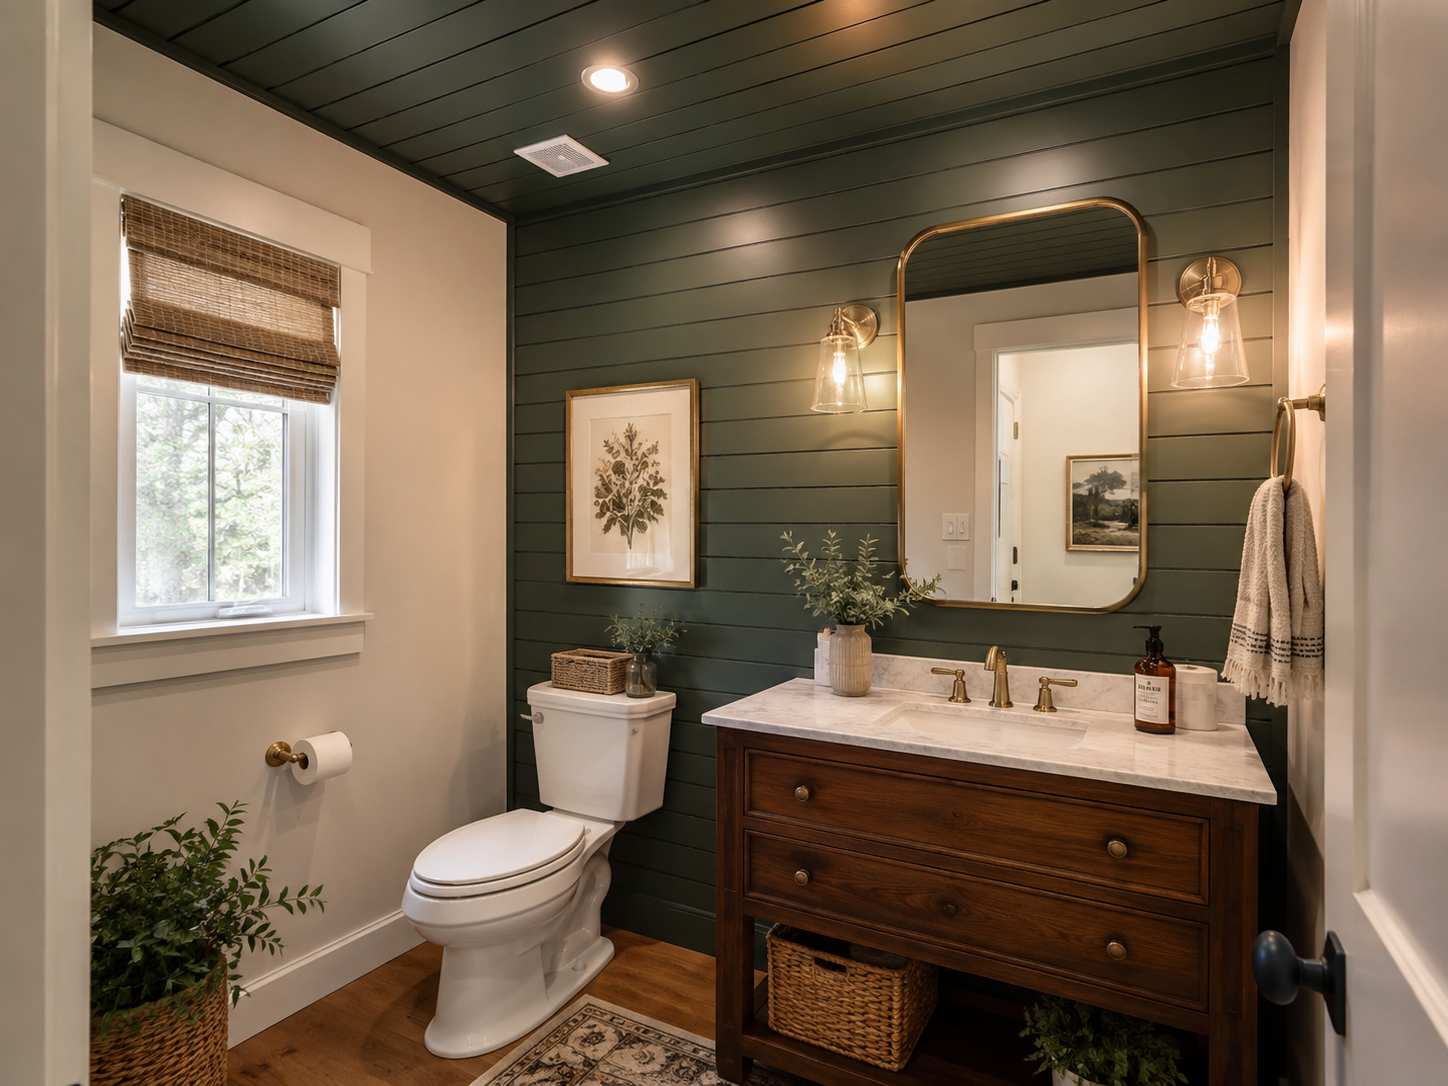
Continue the boards onto one wall when you want the ceiling treatment to feel more integrated with the room. Behind a freestanding tub, toilet or vanity, the material starts functioning as an architectural backdrop instead of ending abruptly at the corner.
The location determines how moisture-resistant that wall needs to be. Primed pine works well across the room from the shower. Beside a tub deck or another splash-heavy spot, use PVC.
Have the gaps line up where the ceiling and wall meet, with trim covering the change in plane. You can then introduce tile or other bathroom wall textures on the remaining walls instead of repeating shiplap around the entire room.
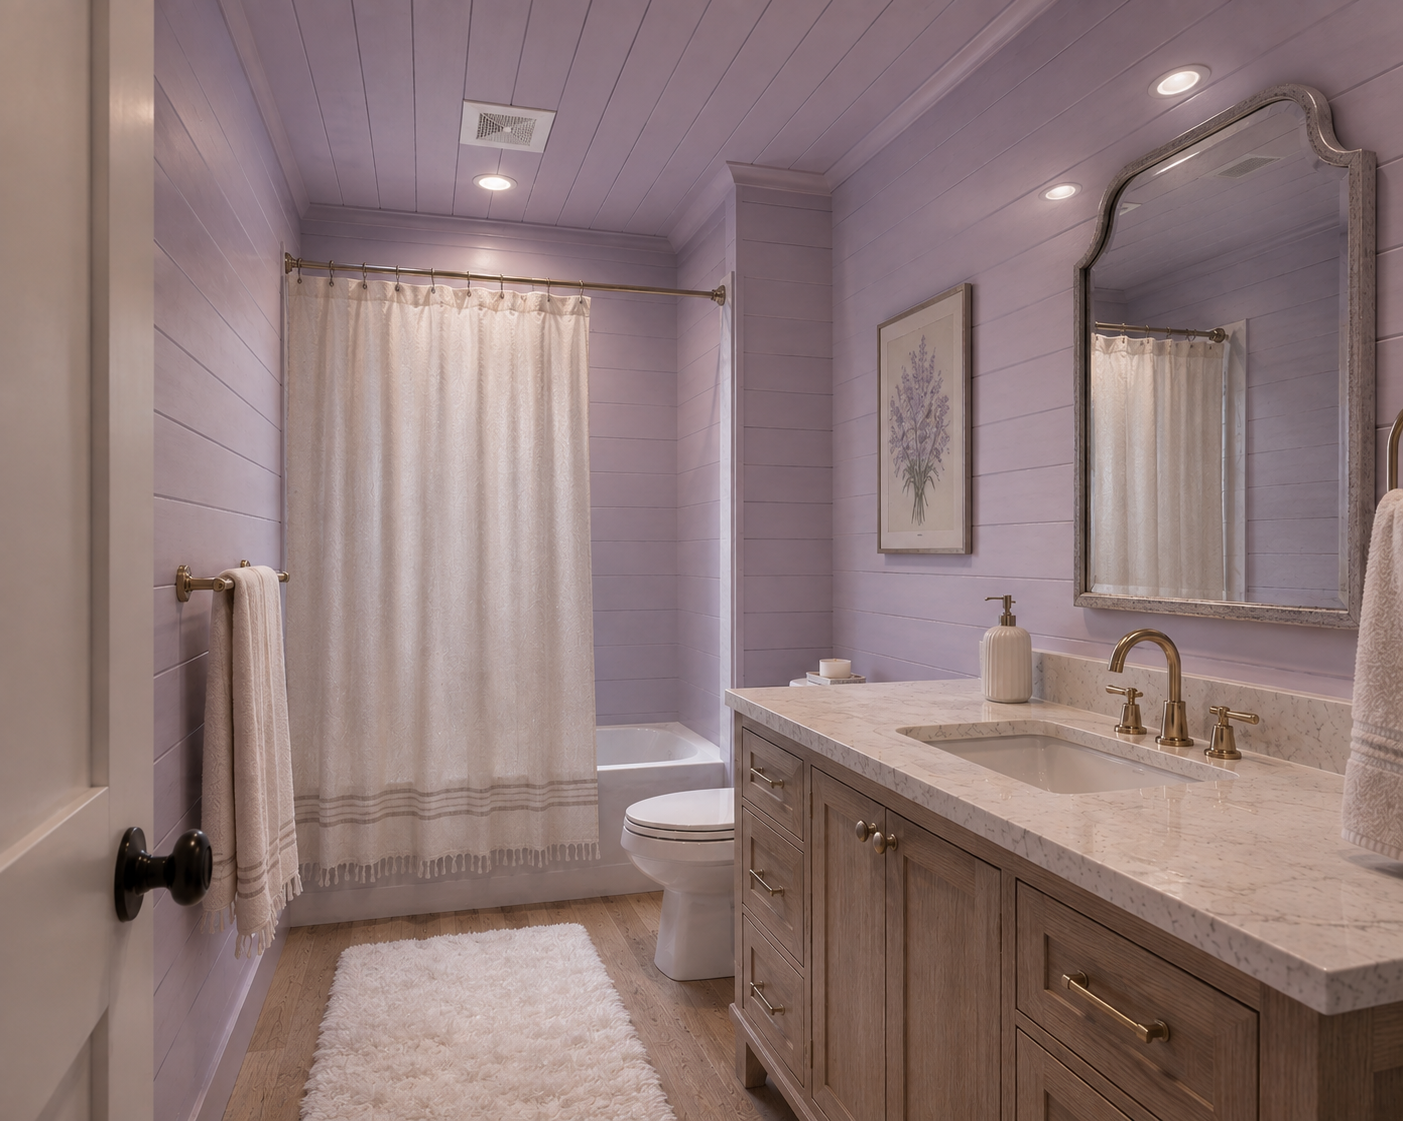
A deep green, navy or charcoal ceiling puts more emphasis on the grooves and gives you another large surface for color. This works especially well when the tile and cabinetry below are restrained. You can also extend the ceiling color onto the upper walls, using the same considerations behind two-tone bathroom walls to choose where the lower color begins.
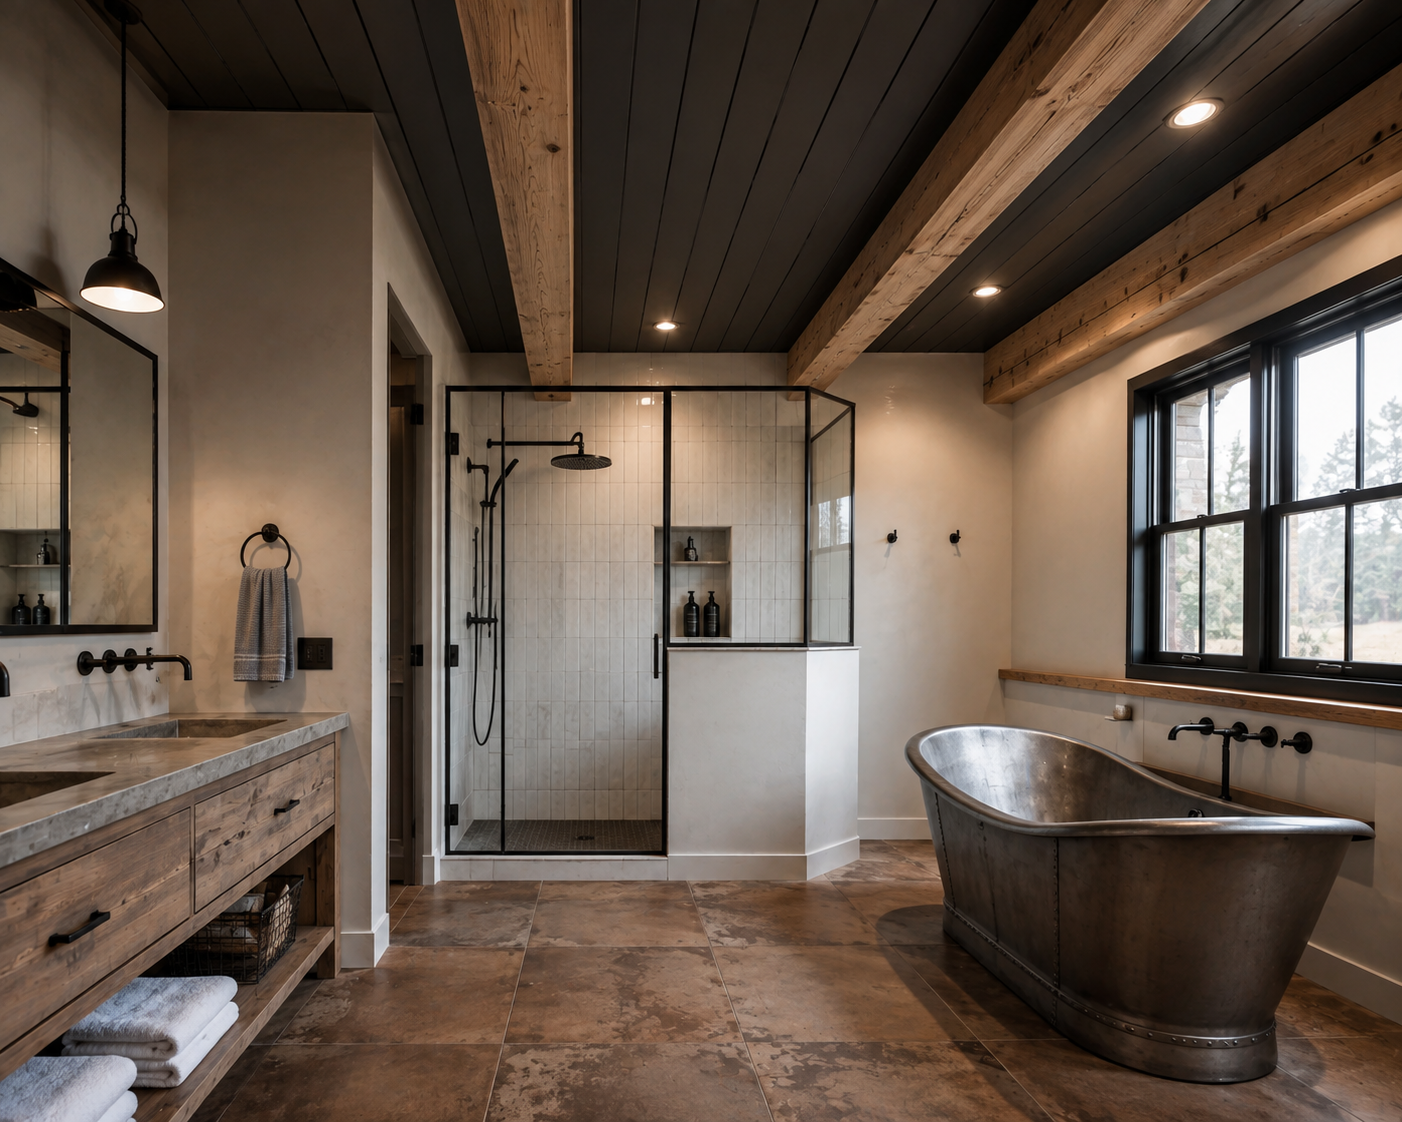
On a compact 8-foot ceiling, beams can crowd the shiplap rather than improve it. Save them for a longer primary bathroom where there’s enough uninterrupted ceiling area to justify another architectural element.
Hollow box beams spaced roughly 4 to 6 feet apart divide a long run of boards into sections without the weight or expense of solid timber. Paint them the same color as the shiplap if you want the extra depth without introducing another wood finish.
A recessed light cut awkwardly across a gap is much easier to notice on shiplap than on plain drywall. The same goes for a fan grille sitting beside a narrow sliver of board.
Look at those positions while you’re deciding which way the planks will run. A few inches of adjustment during planning can produce cleaner cuts around every ceiling penetration.
And that’s before you get to the added thickness. Many exhaust fan housings are designed to finish flush with 1/2-inch drywall. Adding 5/8 inch or 3/4 inch of shiplap lowers the finished surface, so the housing may need to be repositioned or paired with an adjustable trim.
Pendants and other ceiling boxes deserve the same attention before the carpenter starts installing boards.
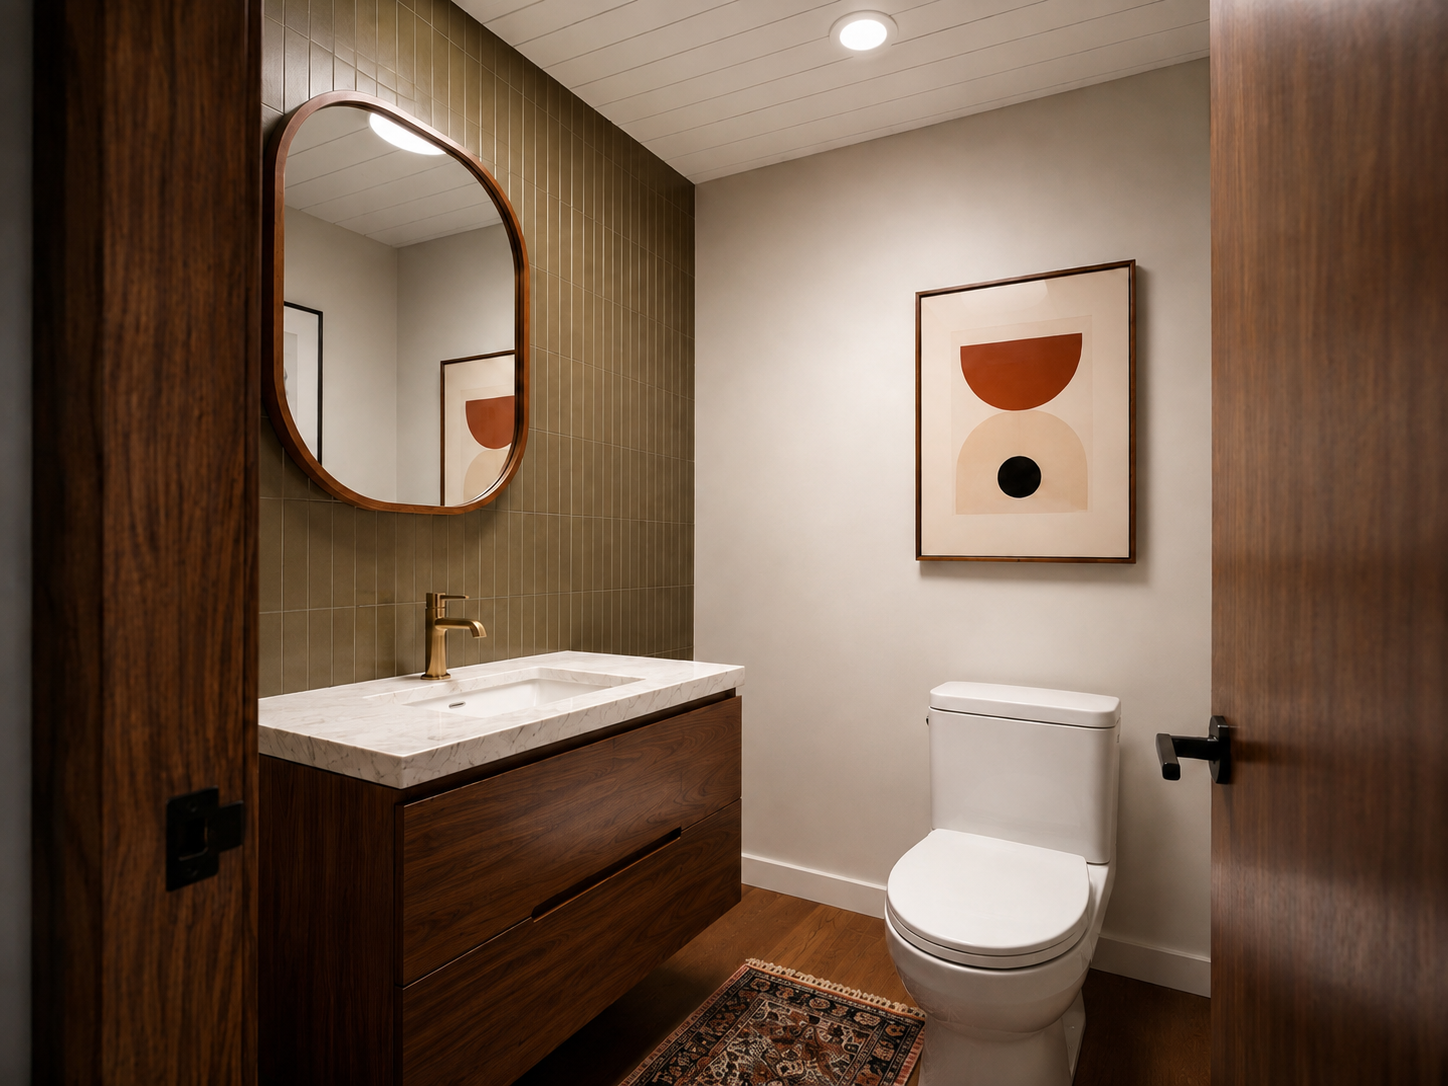
What changes when there isn’t a shower? Quite a lot. Without daily steam filling the room, primed MDF, reclaimed boards and stained pine become much easier to consider.
A powder room is also a good place to try finishes you might hesitate to use across a larger full bath. Walnut-toned boards, deep green paint or even near-black shiplap can suit a small windowless room, especially when the fixtures and wall finishes are simple.
The lower moisture level also opens up other ceiling treatments. Wallpaper on the ceiling, for example, is far easier to consider in a powder room than directly outside a frequently used shower.
A shiplap ceiling in a bathroom with poor ventilation is going to spend too much time exposed to high humidity. Pay attention to how the room feels 20 or 30 minutes after a shower. If the mirror is still fogged and the air still feels damp, address the ventilation as part of the remodel.
Residential code sets 50 cfm as the minimum for an intermittently operated bathroom exhaust fan. For bathrooms up to 100 square feet, roughly 1 cfm per square foot is a common sizing rule. A separate toilet compartment, jetted tub or ceiling above 8 feet can increase the ventilation requirement.
But here’s the kicker: a stronger fan won’t solve a duct that terminates in the attic. During renovation, have the exhaust route checked and confirm that it reaches the exterior.
A humidity-sensing switch or timer is also useful if people tend to turn the fan off when they leave the bathroom. Keeping it running for another 20 minutes after a shower gives humid air more time to exit through the duct.
Once you’ve settled on the look, make sure the project scope reflects the bathroom you actually have. That could mean PVC above the shower, prefinished pine across the rest of the ceiling, a specific board direction on a vaulted section, or adjustments to the lighting and exhaust fan.
Tell Block your project details once and have vetted contractors in your area compete for the work. Each scope receives an expert review for missing line items and red flags before you sign. Payments are released through Block’s progress-based system as the project moves forward.
Remodel with confidence through Block

Connect to vetted local contractors
We only work with top-tier, thoroughly vetted contractors

Get expert guidance
Our project planners offer expert advice, scope review, and ongoing support as needed
Enjoy peace of mind throughout your renovation
Secure payment system puts you in control and protects your remodel

Renovate confidently with Block
Easily compare quotes from top quality contractors, and get peace of mind with warranty & price protections.

