



Paint & Color
Two Tone Bathroom Walls: 15 Ideas & Where to Split
08.14.2026
08.14.2026


In This Article
Two tone walls give a small bathroom the proportion a single flat color can't, and they put the harder-wearing color exactly where water hits it. Splitting the wall horizontally costs little more than a second gallon and an afternoon of careful taping, and it gives a small room the visual break that one flat color never provides. There's a practical payoff to two tone walls too, since the darker lower section takes the splash marks and scuffs that show up first around a sink and toilet.
The height of the break line changes the proportions of the room more than the two colors do, and it sets how much of the wall takes daily wear. Almost any color pairing looks deliberate at the right height and unresolved at the wrong one.
| Split height | What it does to the room | Where it works best |
|---|---|---|
| 32 to 36 inches | Traditional chair rail proportion, makes the ceiling feel taller | Powder rooms, older homes, board and batten |
| 48 inches | Even half-and-half, clears most vanity backsplashes | Tile wainscot, standard 8-foot ceilings |
| 54 to 60 inches | Cozier and more enclosed, covers the toilet tank and the splash zone | High ceilings, full baths with heavy daily use |
| 80 to 84 inches | Near full-height color with a light band above | Rooms with 9-foot ceilings or taller |
Whatever height you pick, tie it to a line that already exists in the room. A split floating an inch or two away from a fixed horizontal is the single most common reason a two tone wall looks like an accident.

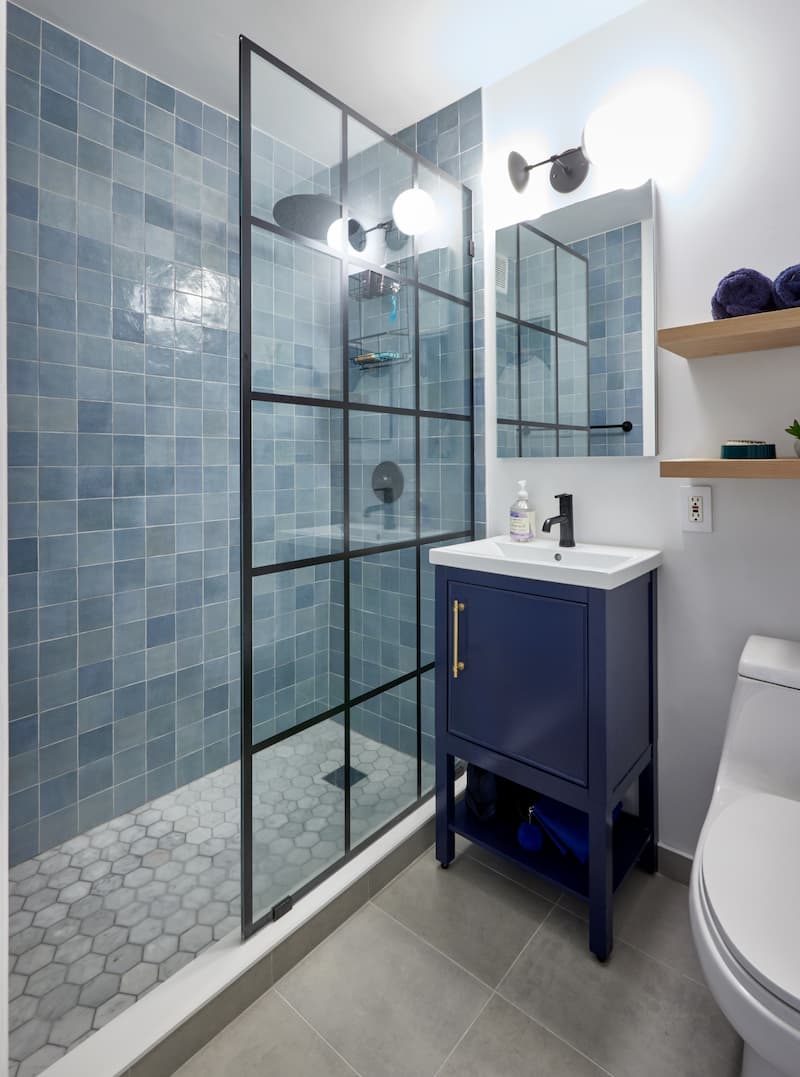
A Brooklyn bathroom renovated with Block Renovation puts mint tile below and peach paint above, and the split lands at the bottom edge of the mirror rather than at a measured height.
Before you buy paint, run a strip of painter's tape at your chosen height and leave it up for a day. Look at it in the morning light and again under the vanity lights at night, because a split that looks balanced at noon can sit too low once the overhead fixture is the only source.
Paint is the version you can undo, and the version where finish matters most. Bathroom walls need a coating that tolerates steam and repeated wiping, so plan on satin or semi-gloss below the split and satin or a bath-rated matte above it.
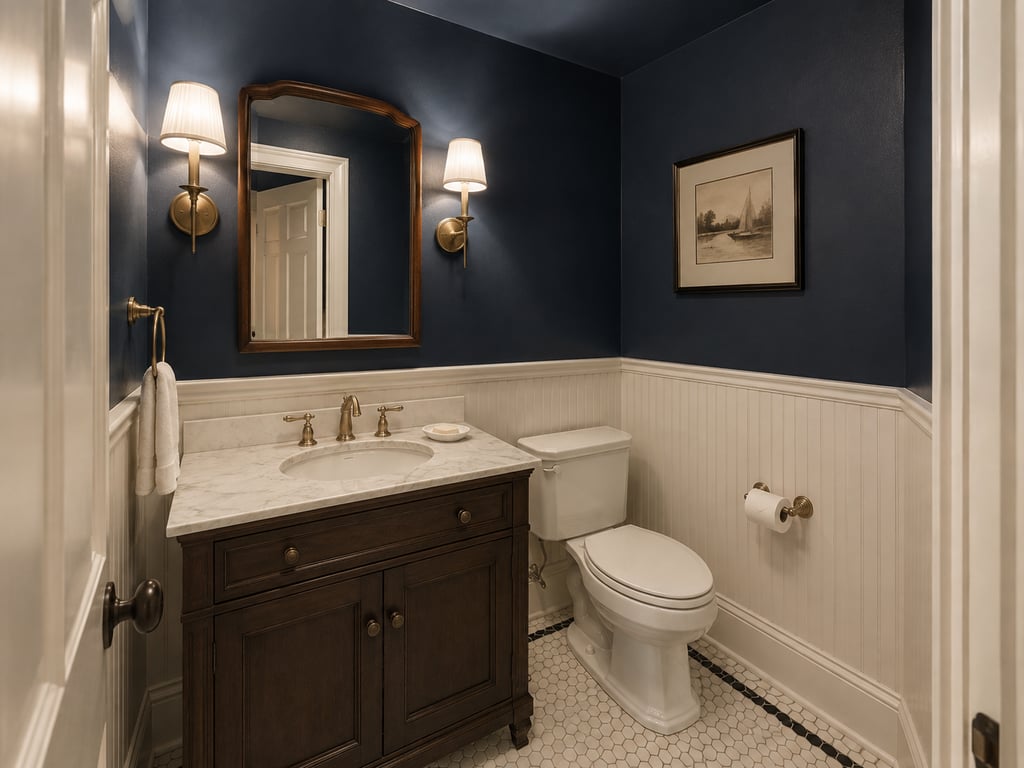
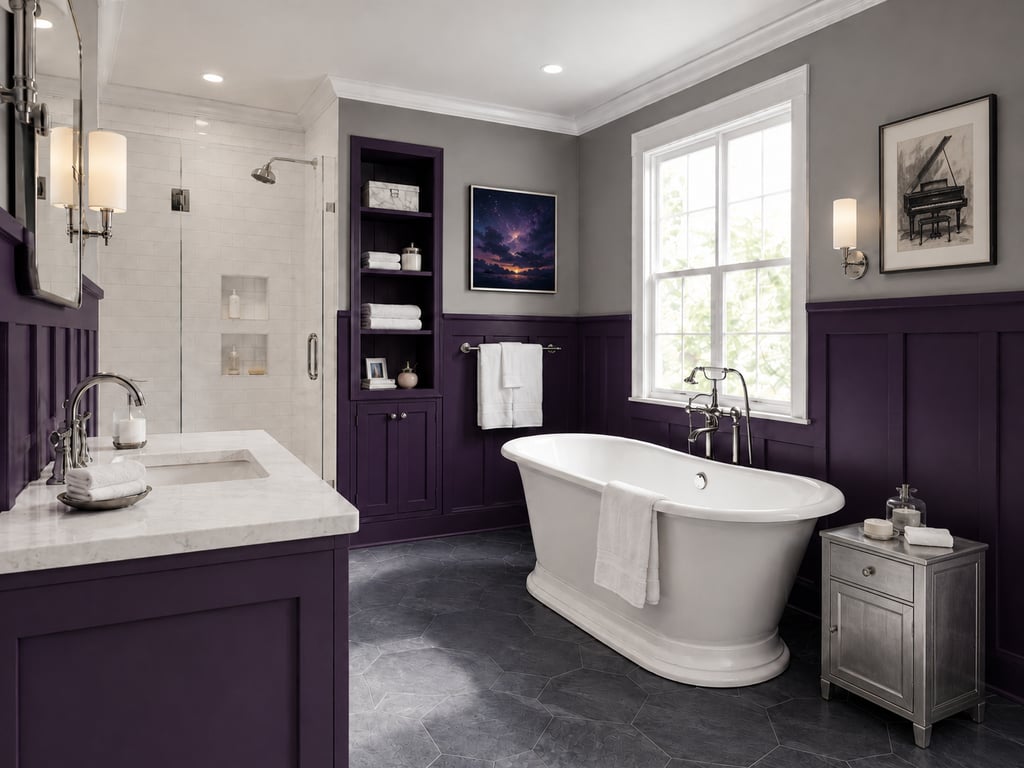
A deep color on the lower third or half with warm white above is the pairing most people picture when they think of a split wall. Navy, forest green, charcoal, and oxblood all hold up against white, and the darker section hides the water spotting that collects around a sink. The lower band can be flat paint or a painted wainscot, since the proportions work the same either way and the paneling only adds texture. In a bathroom with 8-foot ceilings, keeping the dark to the lower 36 inches leaves enough pale surface overhead that the room stays open.
Order of operations decides whether the line comes out crisp. Paint the light color first and carry it 2 or 3 inches past your mark, then wait the full recoat window printed on the can instead of the four hours everyone assumes. Tape onto cured paint, run a thin pass of the light color along the tape edge to seal it, and bring the dark up from below once that seal dries. Skipping the seal coat is what produces the feathered, bled edge people blame on cheap tape.
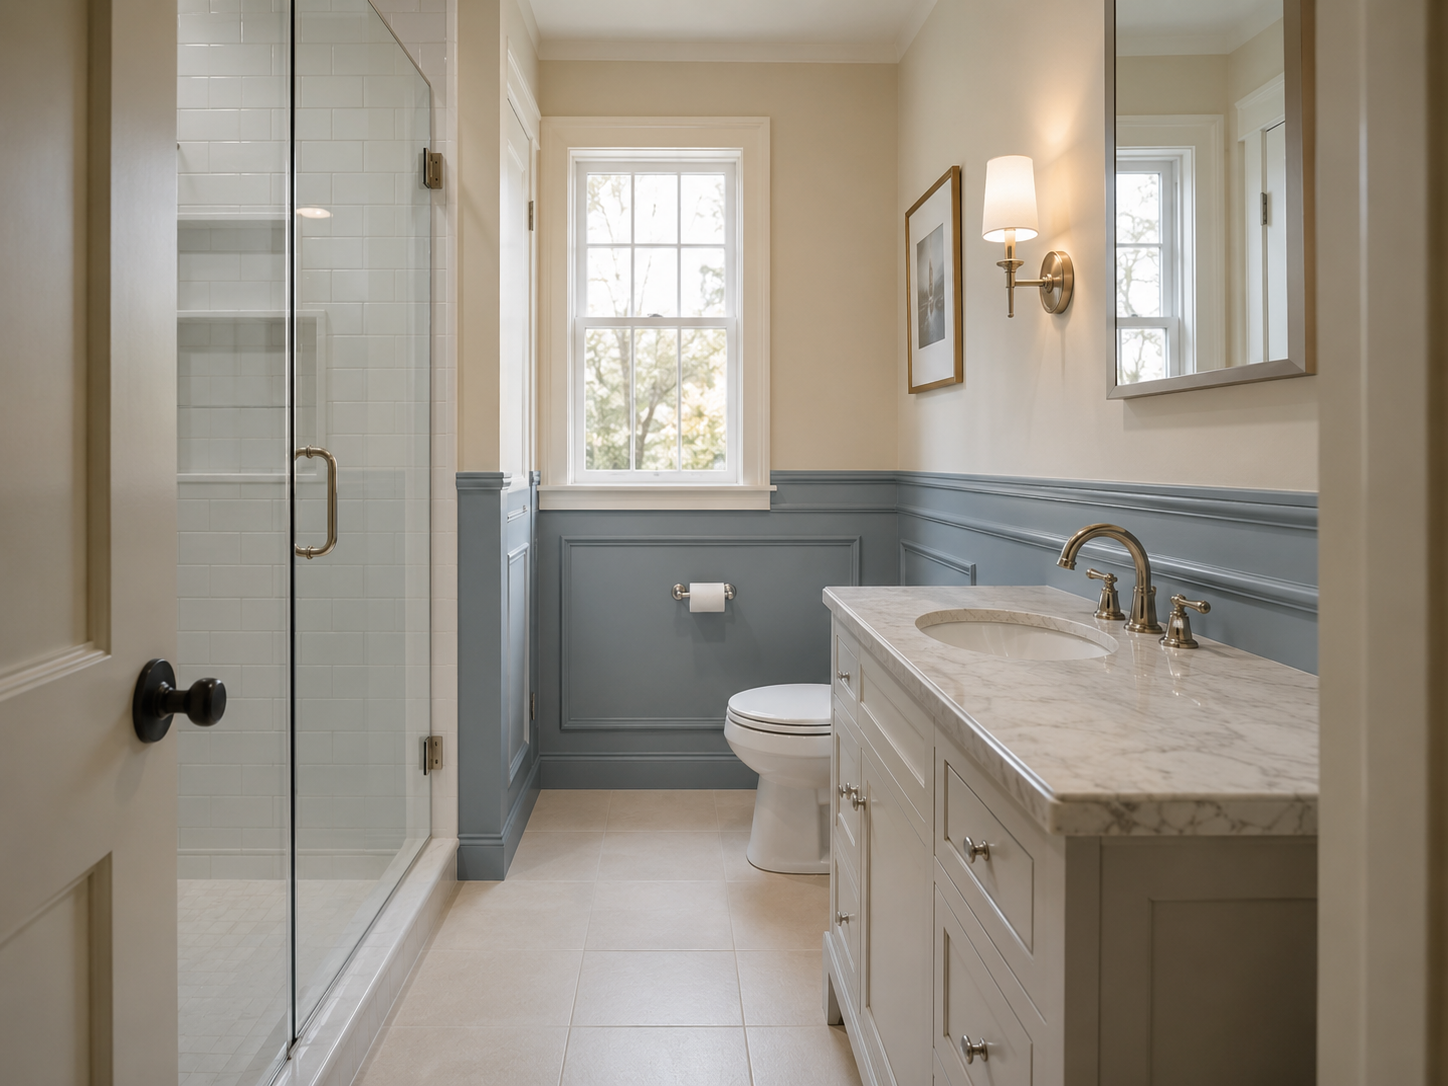
Running the deeper color on the top two-thirds and carrying it onto the ceiling lowers the visual height of the room. That suits a powder room, where you were never going to make the space feel large anyway, and a white lower section keeps light near the floor. Cottage and Victorian bathrooms used this arrangement for a century before the current version arrived.
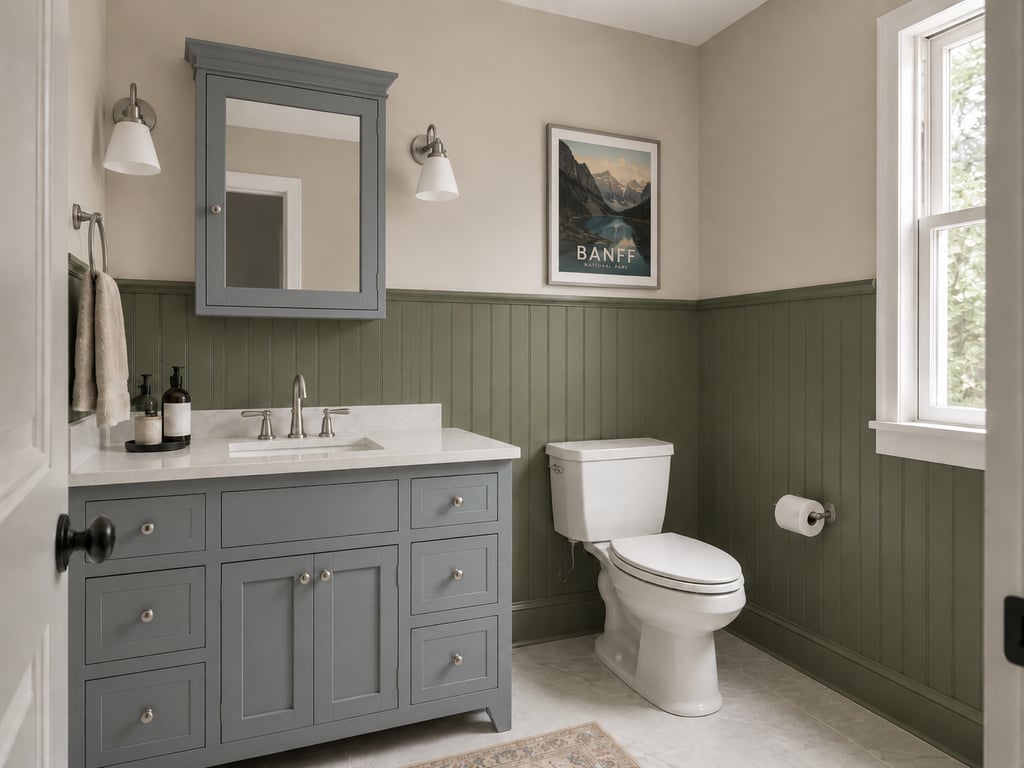
The same color in satin below and matte above divides the wall by how each band catches light, which suits a room where patterned floor tile would compete with a hard color break.
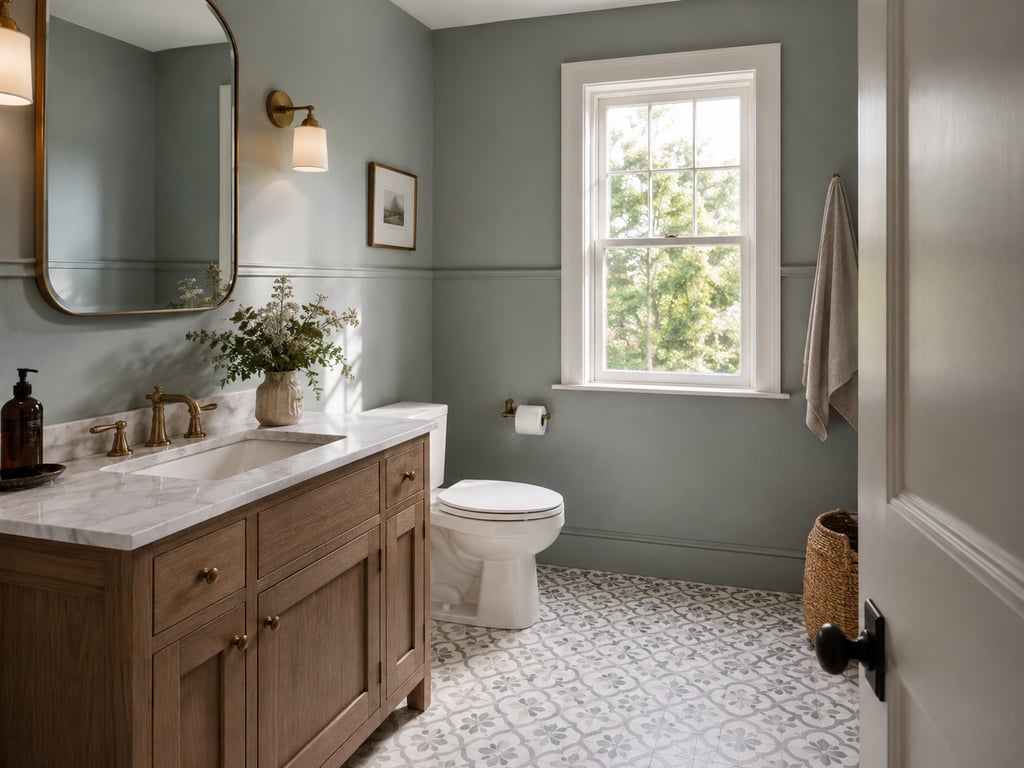
Not every split runs sideways. Run a floor-to-ceiling band of color behind the vanity, roughly the width of the mirror plus 6 inches on each side, and leave the rest of the room in the lighter shade. Paint alone does the job, and a strip of vertical paneling in the same color gives the band a physical edge instead of a taped one. The vertical line adds height in a room with a low ceiling and frames the sink. If you're painting it, use a laser level rather than a tape measure and a pencil, because a vertical edge shows every degree of lean.
Where the edges land matters more than how wide the band is. Stop it at a corner or the side of a bulkhead if the room gives you one, and if it doesn't, center the band on the mirror rather than on the vanity, since the mirror is the thing people look at.
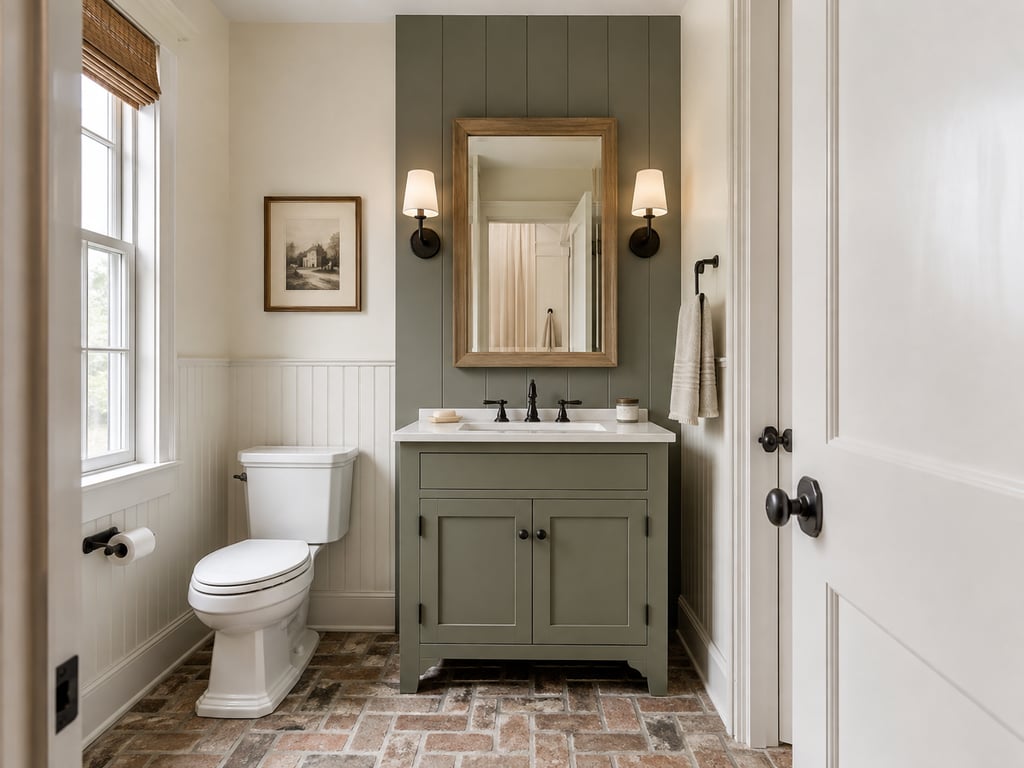
The arch is the same vertical block with a curved top, usually stopping 12 to 18 inches below the ceiling. Pin a string at the center point, tie a pencil to the loose end, and trace the radius before you reach for the tape.
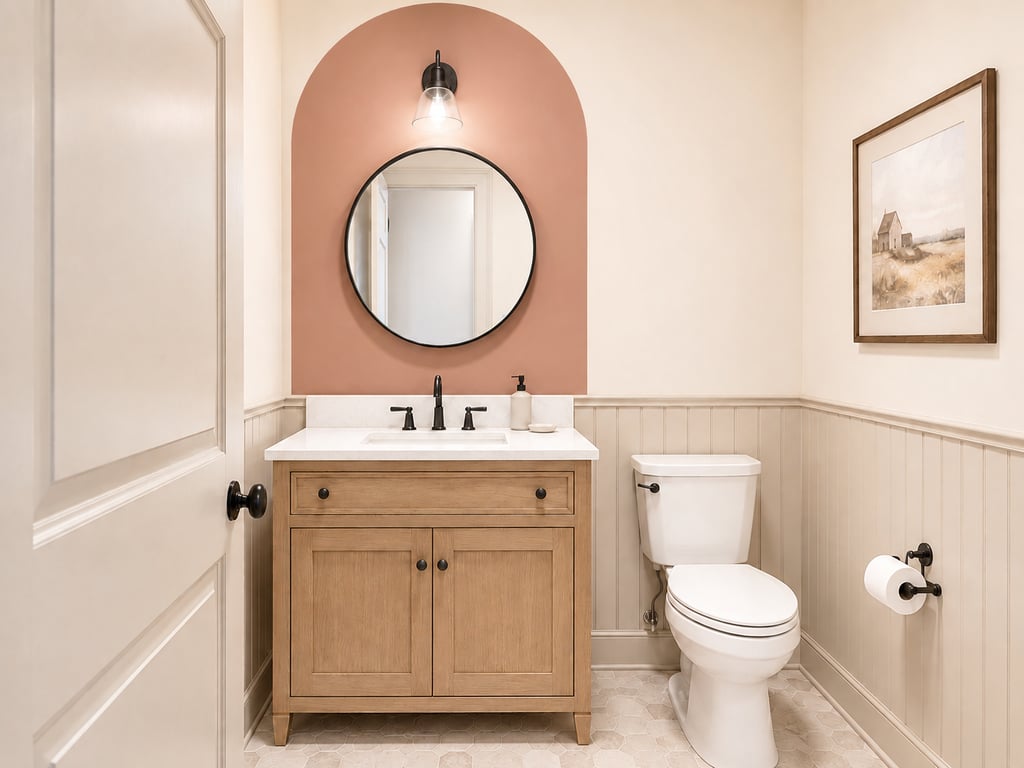
Bathroom ceilings are small, so this is the cheapest color experiment in the house: 35 to 50 square feet in most full baths, well under a gallon. Painting the ceiling a saturated color and leaving the walls neutral gives you a two tone room without a single taped line on a wall. Use a bath-rated paint, since the ceiling collects more condensation than any wall surface.
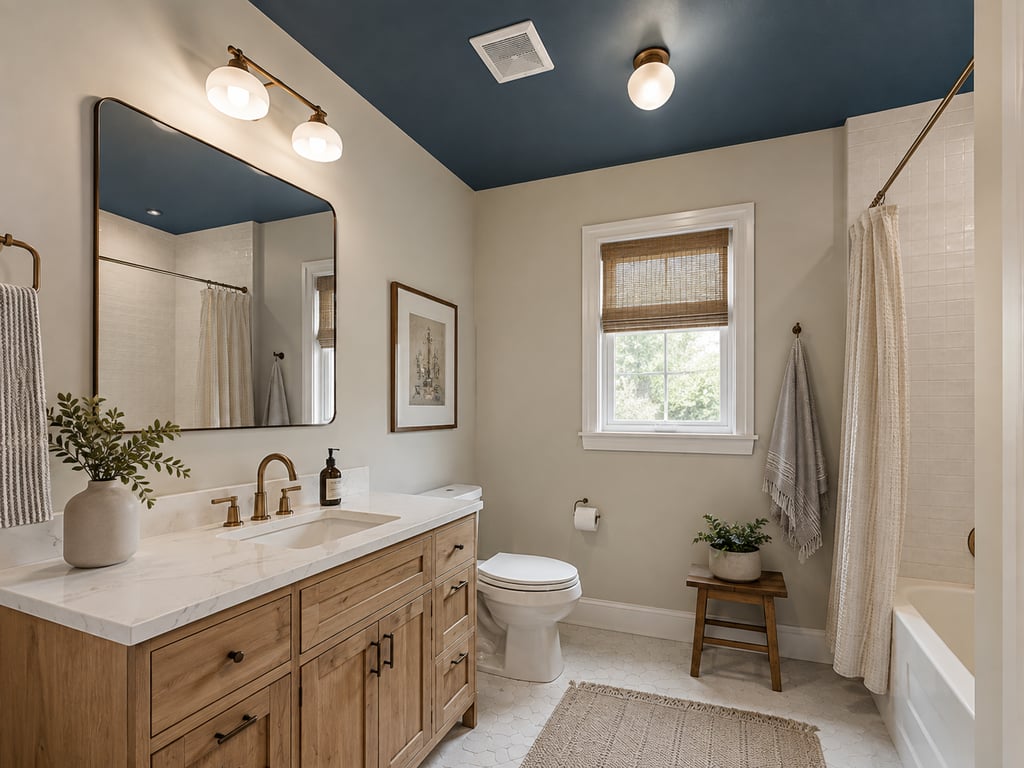
Carry the lower color across the baseboard, the door, and the door casing so the split runs continuously around the room instead of stopping at every piece of trim. Millwork painted to match the wall below it makes a 36-inch line look architectural. Cutting in around the casing takes longer than the rest of the room combined, so budget the time.
These treatments belong to a bathroom remodel rather than a weekend, since most of them involve substrate work behind the finish.
Ceramic or porcelain tile run to 48 inches with paint above it is the workhorse version, and it puts a wipeable surface everywhere water actually lands. Finish the top course with bullnose tile or a metal edge profile so the paint has a clean line to meet.

This Dobbs Ferry bathroom, renovated with Block, runs white subway tile to just below the mirror with teal above, and carries the same tile floor to ceiling on the shower wall.
Tile the shower or tub wall floor to ceiling and paint the other three in a color pulled from the tile, which puts the entire tile budget on the one surface that has to be waterproof.
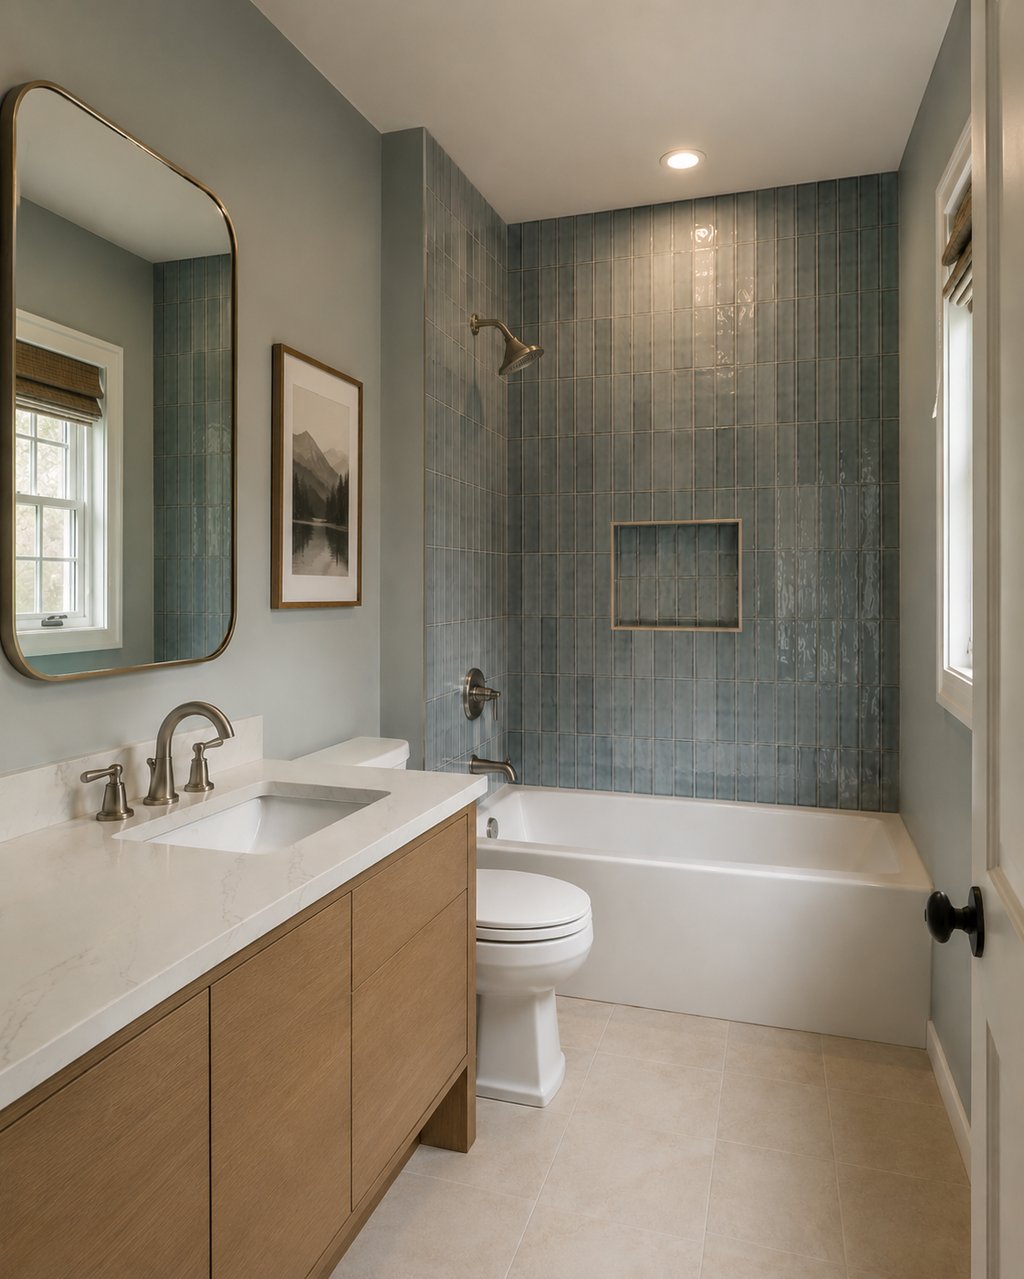
Stack a darker tile below and a lighter one above, and separate them with a pencil liner, a chair rail tile, or a single row of the darker tile turned vertical. The band gives the transition a finished edge and hides the slight height differences where two different tiles meet. Keep both tiles in the same thickness, or the change in plane will catch the light along the whole run.
Order the liner before you lock in the split height. The transition has to land on a full course of field tile rather than a cut one, and a liner adds anywhere from a half inch to 2 inches, so the number you picked on paper will move.
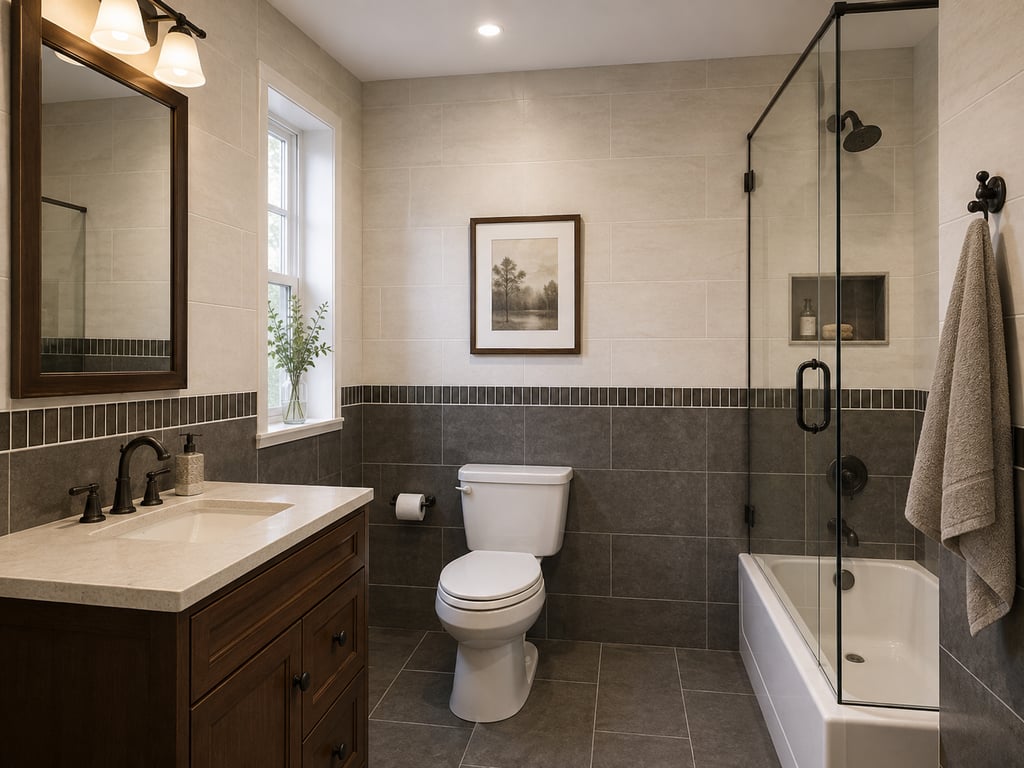
Run tile floor to ceiling behind the vanity and mirror, and paint everything else. You get a full-height accent that doubles as a backsplash, so toothpaste and hand soap land on glazed tile rather than drywall. In a small bathroom this is often a better use of $600 in tile than a wainscot spread thin across the whole room.
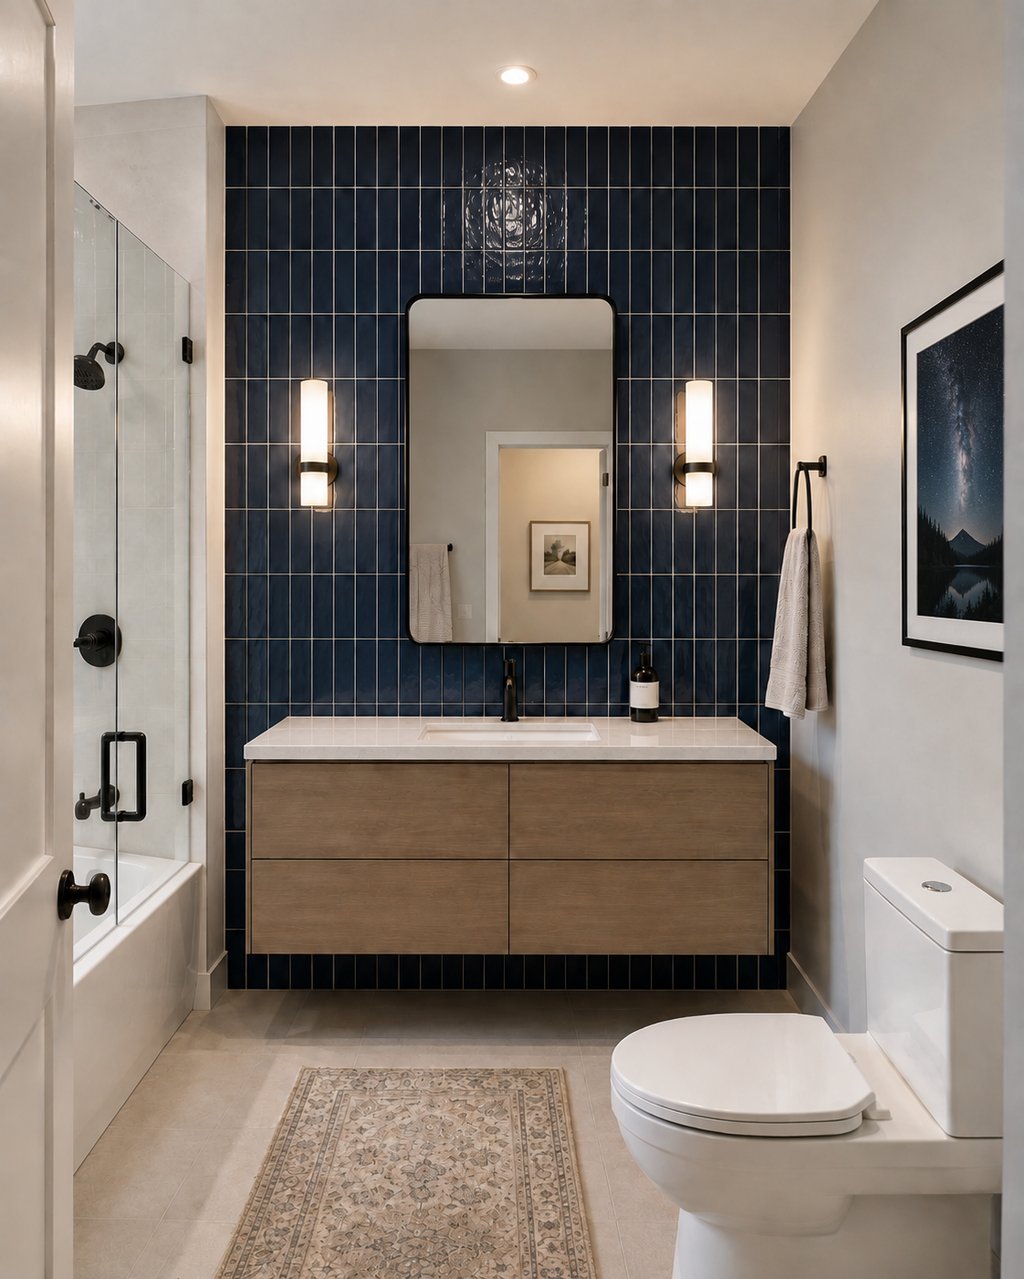
Beadboard adds vertical texture to the lower wall along with the second color. Standard sheets install at 32 or 36 inches with a cap rail on top, and you want to prime the back and the cut edges before installation, since the material absorbs humidity from behind as readily as from the front.
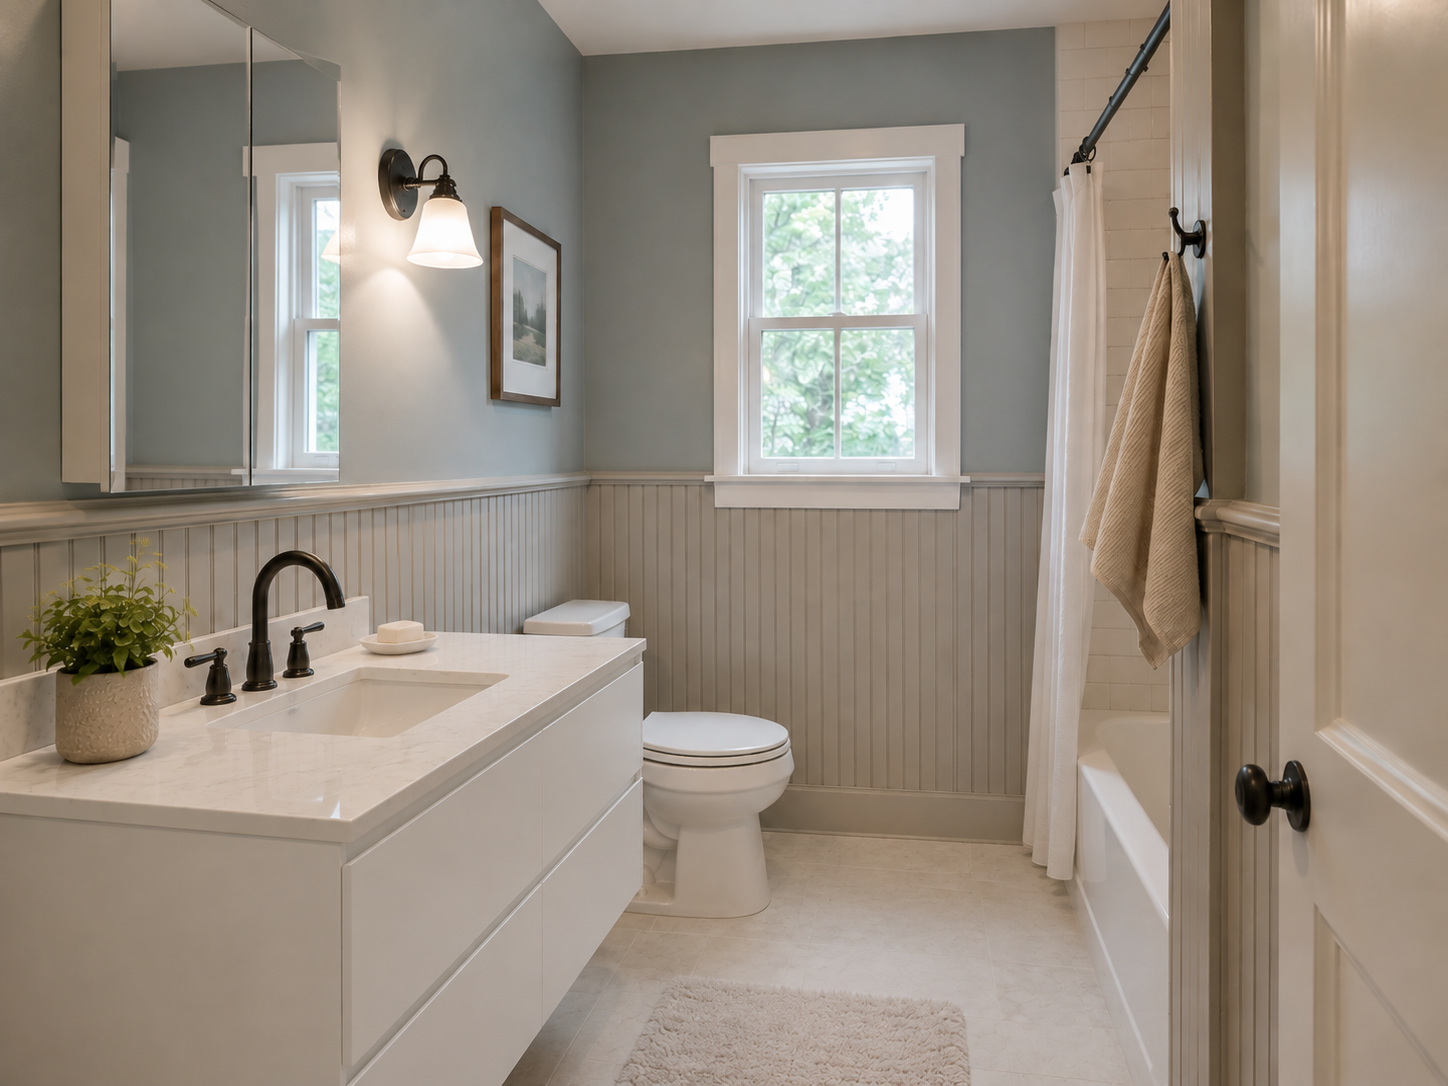
Board and batten set higher than traditional wainscot gives a small bathroom more presence, and the battens break the wall vertically while the cap rail splits it horizontally.
Lay the whole thing out on paper before anything gets cut. Measure the longest uninterrupted wall, decide on a target spacing, and divide until you get a whole number of bays, then adjust the spacing by a half inch or so rather than adding a bay. Most small bathrooms settle at 12 to 16 inches on center. Battens also need a clean place to stop where they run into the toilet and the vanity, so plan those two intersections first and let them govern the spacing everywhere else. Caulk every seam and fill every nail hole before primer, because a 54-inch wainscot in a dark color shows each one under side lighting.
Thin applied molding in rectangles across the lower wall gives you paneling proportions without a solid wainscot crowding a narrow room, whether you paint the frames into the color behind them or leave them white for a sharper outline.
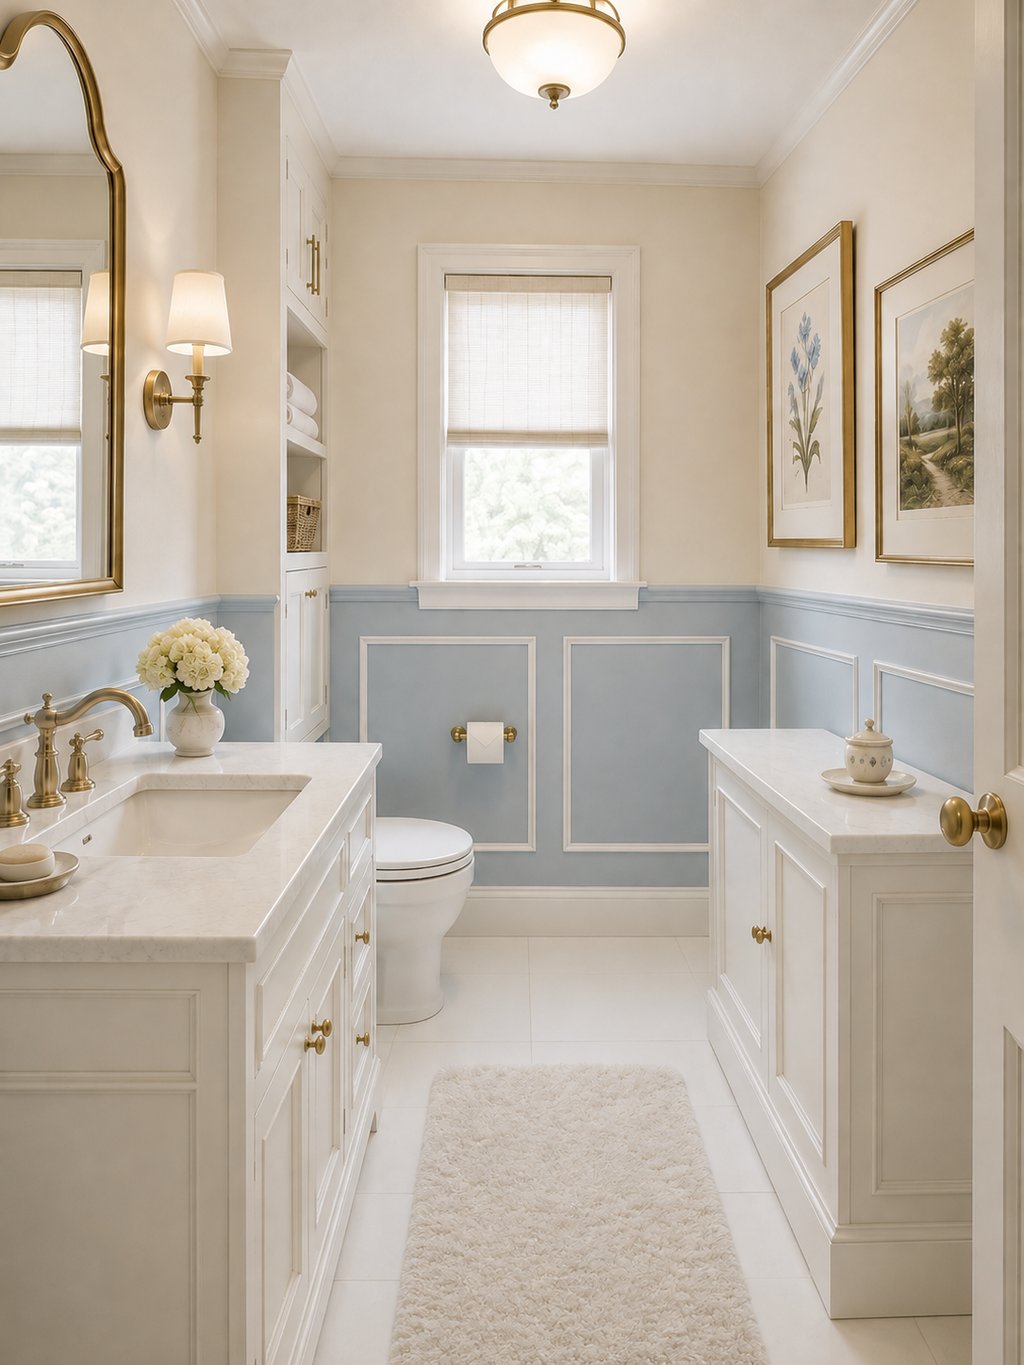
Tile below the split solves the problem that ends most bathroom wallpaper, which is water reaching the bottom edge of the paper. The tile takes the splash from the sink and tub, the paper stays in the dry zone above it, and the bullnose course gives the paper a hard edge to stop against instead of a caulked joint that steam gets behind. Choose a vinyl or vinyl-coated paper rated for humidity anyway, and run the exhaust fan for 20 minutes after every shower.
You can also let one wall break the rule. Papering a single dry wall floor to ceiling, with tile and a solid color continuing around the rest of the room, gives the pattern somewhere to be the focus without wrapping it through the wet zone.

This New York bathroom, renovated with Block, sets wallpaper above a subway tile wainscot and papers one wall from floor to ceiling.
Splitting the walls is often the last decision in a bathroom project and the one that depends on everything underneath it: where the tile stops, how the wainscot meets the vanity, whether the substrate behind a new wet wall is sound. Block matches you with vetted local contractors who bid on the same expert-reviewed scope, so the quotes you compare cover the same work rather than three different interpretations of it. Every scope gets reviewed for missing line items before you sign, and payments release in stages as the work is completed. Thousands of homeowners have renovated with Block, and getting matched starts with a few questions about your project.
Remodel with confidence through Block

Connect to vetted local contractors
We only work with top-tier, thoroughly vetted contractors

Get expert guidance
Our project planners offer expert advice, scope review, and ongoing support as needed
Enjoy peace of mind throughout your renovation
Secure payment system puts you in control and protects your remodel

Renovate confidently with Block
Easily compare quotes from top quality contractors, and get peace of mind with warranty & price protections.
Paint & Color
Two Tone Bathroom Walls: 15 Ideas & Where to Split
08.14.2026
Cabinets
Brown Cabinets With White Countertops: Design Guide
06.04.2026
Paint & Color
Wall Colors for Light Wood Floors: Grays, Whites & More
05.13.2026
Paint & Color
Gray Walls with Dark Hardwood Floors: Pull Off the Look
05.06.2026
.png?width=640&name=Moody%20Dining%20Room%20Painted%20Ceiling%20Walls%20(2).png)
Paint & Color
Painting Ceilings the Same Colors as the Walls: Pros & Cons
04.22.2026